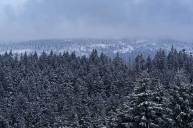
Winter is fast approaching and, if you're like me, you don't plan to end your outdoor adventures when the snow and cold weather hit. Winter is one of my favorite times of year to be outside; you generally find fewer people on the trails, at campsites, and in the national parks during the winter, and landscapes after a fresh snowfall can be particularly beautiful. Winter also brings the opportunity to get outside in ways you normally don't, from cross-country skiing to backcountry skiing, snowshoeing to snowmobiling.
While winter recreation can be spectacular, backcountry travel in the winter comes with risks. You must contend with freezing temperatures, fewer daylight hours, and dangerous weather from snowstorms to avalanches. It's easy to get in over your head, and some extra preparation and gear are needed for even a short winter hiking trip.
I love being outside in the winter so much that I've made a living out of winter recreation, working as a mountain guide on Denali, the world's coldest mountain, for six years and counting. Before that, I served in the U.S. Army in Fairbanks, Alaska, where I was trained in arctic warfare and competed in winter ultramarathons for fun. I've spent weeks in snow caves, participated in high-altitude rescues, and once skied for 36 hours straight in temperatures that dipped to -38 degrees Fahrenheit. My winter survival gear is well dialed in at this point. Let me share with you the things, both tangible and intangible, that I never leave home without in the winter.
1. Wearing the Right Clothes for Winter Weather
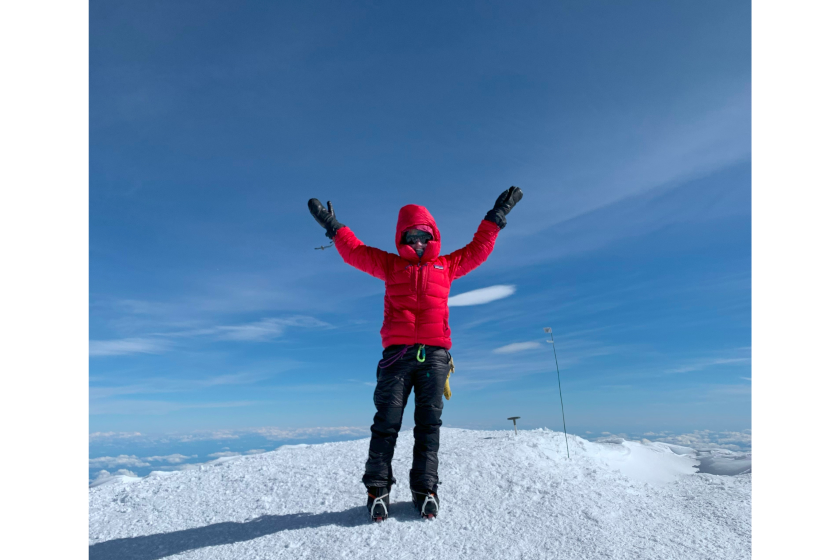
Chelsey Cook for Wide Open Spaces
Properly layering your clothing—and having enough layers—is key when it comes to protecting yourself in the cold weather. This includes thin base layers that are close to your skin, insulating mid-layers, and a weatherproof outer layer for both top and bottom.
I always carry at least one more insulating layer than I think I'll need, in case of emergencies; I've been on plenty of trips where temperatures fell far below what they had been forecasted, and I was grateful to have planned for that. I generally carry a lightweight, packable down jacket, one size larger than my usual, as this extra layer. It lives at the top of my pack, and whenever I stop for a break, I put it on over my other layers to conserve heat.
You'll also want a warm hat, gloves or mittens depending on the temperature and dexterity you need, and a pair of insulated, waterproof boots. I also bring hand and toe warmers on any winter trip. They are incredibly easy to use and can help save your extremities from frostnip or frostbite.
The specific layers you use are a matter of personal preference and can take some time to dial in, but look for materials like merino wool for base layers, fleece and down for mid layers, and then down and a waterproof layer for outerwear. Avoid cotton because once it gets wet, it no longer insulates. Make sure you test-run your layering system before trying it out on an extended trip.
Another important note is to manage how much you are sweating. While sweating may not seem like a big deal while you're moving, as soon as you stop, that sweat will make you very cold and may not be able to evaporate to dry. Hypothermia can occur at temperatures above 40 degrees Fahrenheit if the victim is wet from either sweat or water, according to the U.S. Centers for Disease Control and Prevention.
When I start sweating, I take it as an immediate cue that I'm wearing too many layers and need to take some off. Mountain guides in Alaska love to use the old adage, "be bold, start cold,"—meaning if you feel somewhat chilly when standing around, you're probably at the right temperature to prevent sweating when you start moving. If I start sweating, particularly along my back under a heavy pack, I always turn my back to the wind for a few minutes when I stop for a break to help start the drying process.
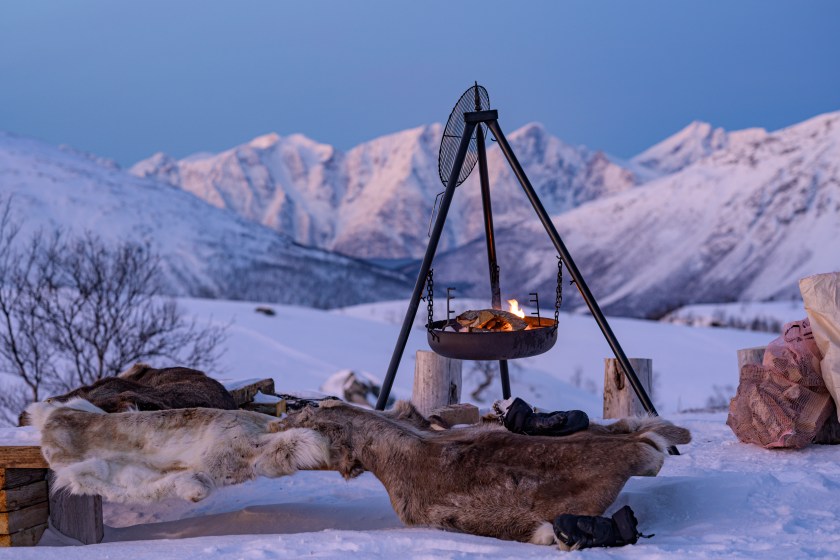
2. An Insulated Sleeping Bag and Pad
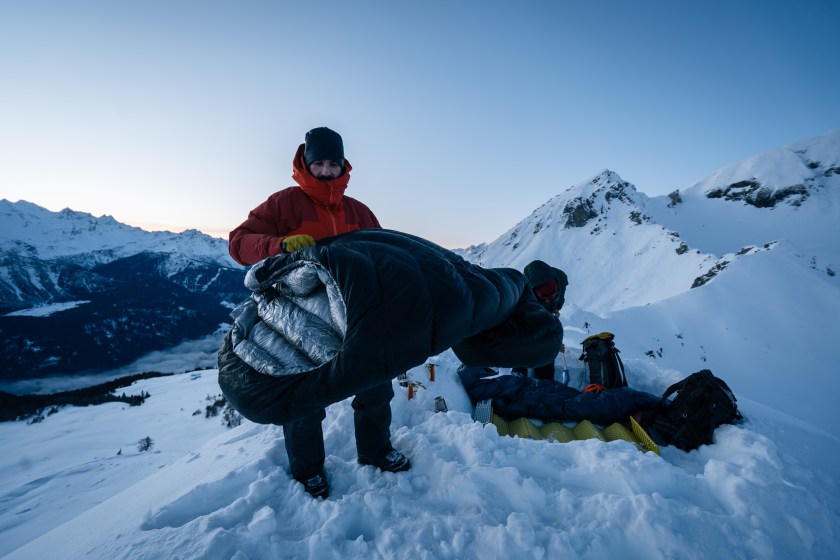
Getty Images, AscentXmedia
If I'm going on a full-day trip in the winter, a sleeping bag and pad are a crucial part of my kit, even if I don't plan on sleeping out. In the event of an emergency where a partner or I have to hunker down, a simple sleeping bag and pad could mean the difference between life and death. While a healthy, uninjured person is able to move around enough to generate heat in all but the most extreme conditions, it can be incredibly difficult to stay warm without a sleeping bag if a person becomes immobile or otherwise unable to physically exert to generate heat.
Look for a down sleeping bag rated to the temperatures you'll be experiencing. I choose down over synthetic because it's lighter and compresses far better than synthetic. For sleeping pads, unless I'm planning on spending the night and want something a little more comfortable, I bring a simple fold-up foam pad strapped to the outside of my pack. It weighs next to nothing, and because it doesn't take up precious packing room. With it easy to access, I can also use it to sit on during breaks, keeping my bottom insulated from the cold ground.
3. Winter "Flotation Devices"
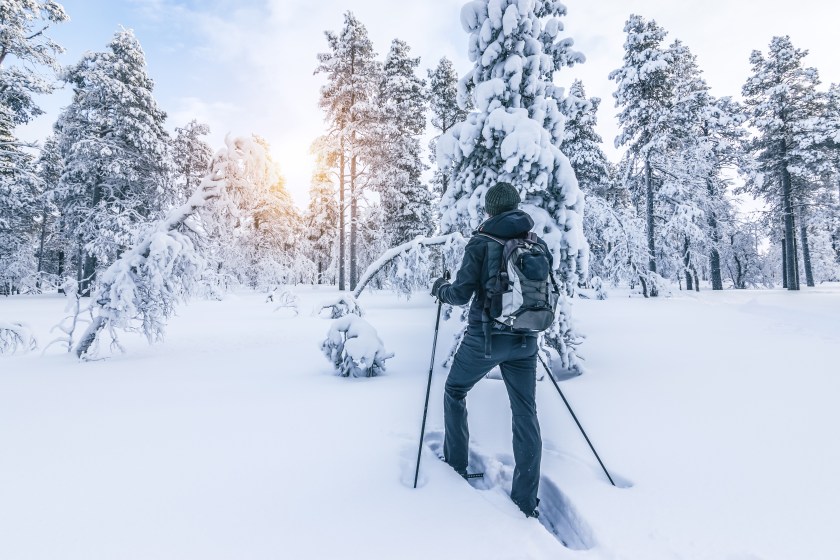
Getty Images, Nancy Pauwels
No, I'm not talking about a life jacket. If you venture into terrain that has any amount of fresh, unpacked snow beyond a light dusting, you should travel with winter "floatation devices" such as snowshoes or backcountry skis. These will help keep you on the surface of untrodden snow or need to get off trail for any reason. Without snowshoes or skis, you'll have to posthole through the snow—that is, sink in with every step—to get anywhere. Even in just a few inches of snow, post-holing is exhausting work, leading you to expend more energy than you need to and start sweating—neither of which are good ideas when you're adventuring in the cold.
Snowshoes are great for any experience level and can be strapped to a backpack when not in use. They can also often be rented from places like REI or other outdoor gear stores if you don't want to buy your own. Skiing has a steeper learning curve and is far more gear-intensive. It's also a lot more efficient than snowshoeing in all but the steepest terrain, and if you're spending a lot of time in the backcountry in the winter is well worth the time, money, and effort it takes to get started.
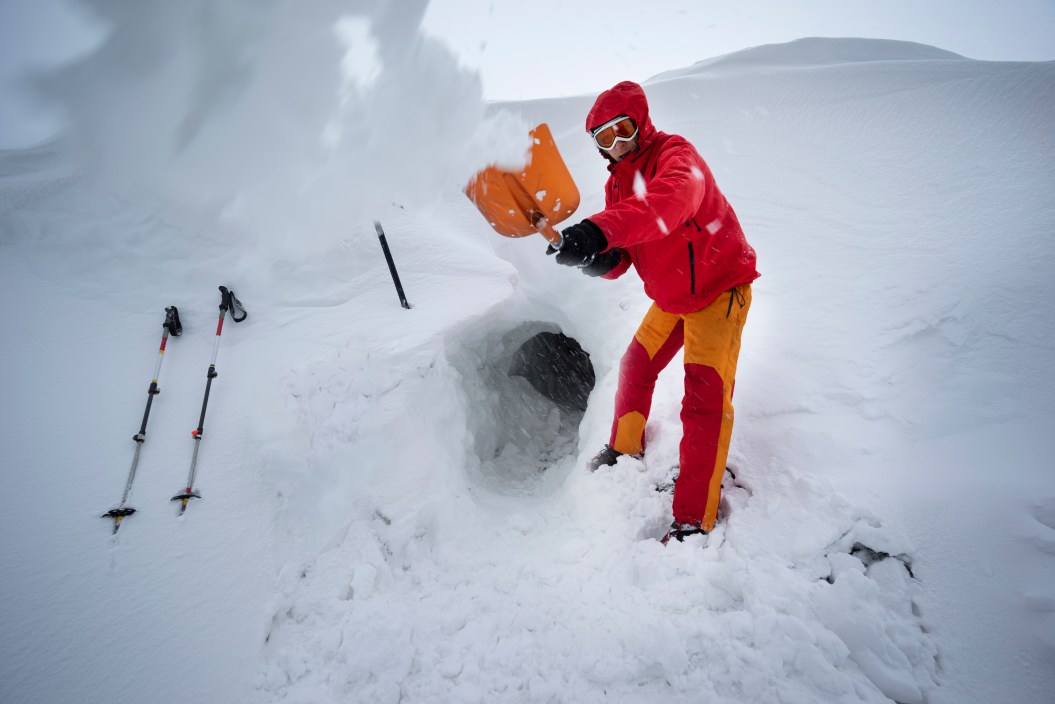
4. A Compact Metal Shovel

Getty Images, panaramka
If I'm planning on an extended winter backcountry trip, especially one that is remote or overnight, I always pack a small metal shovel. In the event of an emergency or an accidental benighting, a snow shovel is vital for digging a snow shelter. While sleeping in a snow cave may sound horrific, snow is actually an excellent insulator, and the inside of a snow cave will always be warmer than the outside air temperatures. Snow caves also provide incredible protection from the wind. They've saved more than one life in the backcountry and are in the survival repertoire of everyone from the military to mountaineers.
Even if you aren't experiencing an emergency, snow caves and igloos can be fun to build on any backcountry adventure or just in the backyard. I once spent two weeks (by choice) in a snow cave in Wyoming; even though temperatures dropped to -20 degrees Fahrenheit, the inside of the snow cave stayed cozy by comparison.
I always look for "avalanche shovels" for my winter kit. These shovels are specifically designed to move a lot of heavy, hard snow and they are also small and light enough to be carried in a daypack. They typically break down into three pieces, have extendable shafts, and are made from sturdy metal with a sharp blade. Don't bother with plastic shovels—they'll only flex and break under the weight of heavy snow.
5. An Avalanche Education
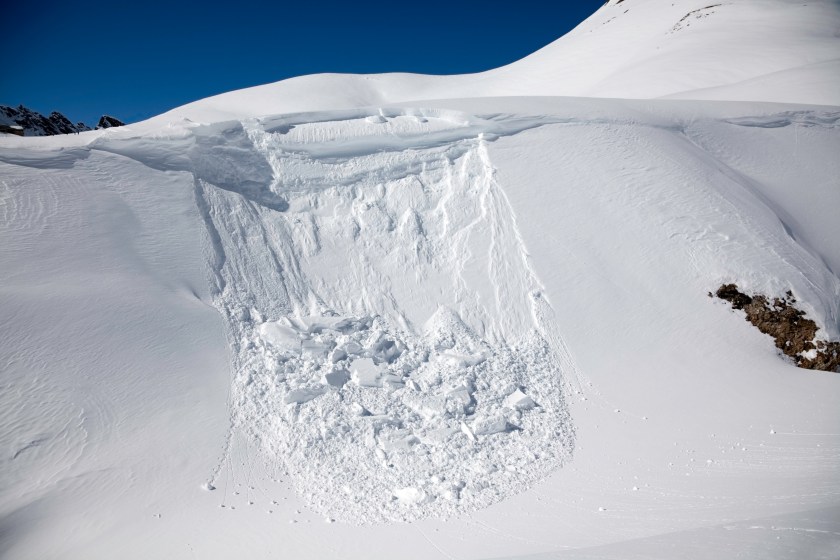
Getty Images, nicolamargaret
An avalanche is a massive slide of snow, rock, and ice. Incredibly destructive, avalanches are capable of taking out houses, power lines, and even train cars. Approximately 28 people die in the U.S. from avalanches every year, with most of the deaths concentrated in Colorado, Washington, and Alaska.
While most people believe avalanches only affect people skiing or snowboarding deep in the backcountry, avalanches can occur anywhere on a slope over 30 degrees in steepness—basically, any good sledding hill— covered with a slab of snow. Hikers, snowmobilers, and even avid sledders are widely affected by avalanches, often because they don't realize they're in avalanche terrain or below it in an avalanche path. Even a slope beside a rest stop on the highway could be avalanche terrain if the slope is steep enough.
One of the best things you can do for yourself and your safety is to get a basic avalanche education if you plan on recreating in any sort of hilly terrain in the winter. Know Before You Go is an organization that gives free avalanche awareness talks, and many outdoor retailer stores also host presentations. These teach you how to look up avalanche forecasts, how to identify avalanche terrain, and how to pick up on red flags while in the backcountry.
6. Plenty of Food and Water
Getty Images, Wirestock
When exercising in cold weather, your body burns 30 percent more calories than in warmer temperatures. Your body uses most of these extra calories to keep your core temperature up, meaning that properly fueling during any winter adventure is crucial to staying warm. Your caloric needs for winter camping are 3,600 to 6,000 calories per day or approximately 2 pounds of food per person per day per University of Minnesota.
While some beef jerky and a protein bar may get you through a day outside in the summer, not eating properly during the same effort in the winter is downright dangerous. Make sure to bring more food than you think you need on any winter excursion, especially a multi-day one. I always pack two to three days of emergency rations on my backcountry camping trips, and those rations came in handy on several occasions when I've been stuck out longer than anticipated due to poor weather.
Staying hydrated in winter is equally as important as staying fueled. Drinking enough water on a winter excursion can be difficult, as cold water is unappealing when you feel cold and, without sweat as an indicator, it can be difficult to tell if you're becoming dehydrated. It's important to stay on top of your hydration, however, as dehydration increases your risk of developing frostbite. The majority of climbers I've seen on Denali who've gotten severe frostbite were also extremely dehydrated at the time.
Make sure you carry plenty of water for the day, preferably in insulated bottles so that it doesn't freeze. I typically also carry a stove, like the MSR PocketRocket, and a tiny pot in case I need to melt snow for water. If you don't have a way to thaw the snow, try filling a canteen or empty water bottle with snow and keeping it close to your body under your layers. The heat of your body should melt the snow, making it drinkable.
7. Fire-Starting Materials
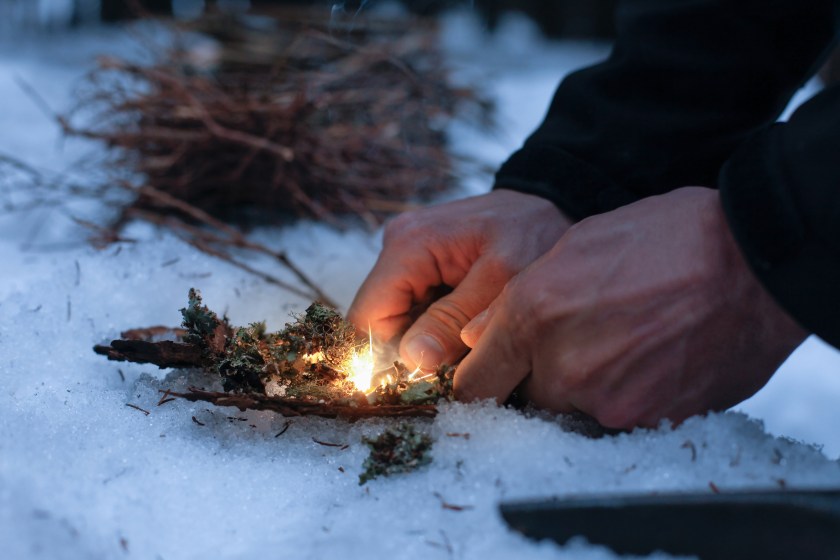
Getty Images, zlikovec
One of the most important and age-old survival skills is the ability to start a fire. Huddling near a fire will help keep your body temperature up, allow you to melt snow for drinking water to stay hydrated or prepare a meal, and make drying layers or boots a lot easier and faster.
Thankfully, you have plenty of options for ready-made fire starters. Most stocked survival kits include emergency waterproof or windproof matches, some quick-burning fuel, and small bits of kindling to help you get the blaze going. If you're newer to fire building or don't plan on doing it often, these ready-made kits are a godsend. I like kits like VSSL's, which includes matches and kindling in a tin that fits into the flashlight body.
Another option is to build your own fire-starting kit. There are numerous ways to do this, from Ferro rods to create sparks, to magnesium firestarters, and cotton balls soaked in petroleum jelly. If you make your own kit, ensure that it works before going into the backcountry. This is a good rule of thumb for ready-made kits as well.
That said, if you're like me and you spend your winter outdoor time on glaciers or in the alpine tundra where a fire-starting kit won't get me far, with simply no trees to use as fuel after I get a fire started. This is another reason I carry the MSR Pocket Rocket stove, a small pot, a lighter, and some waterproof matches so that I can melt water and cook food easily.
8. A Headlamp and Spare Batteries
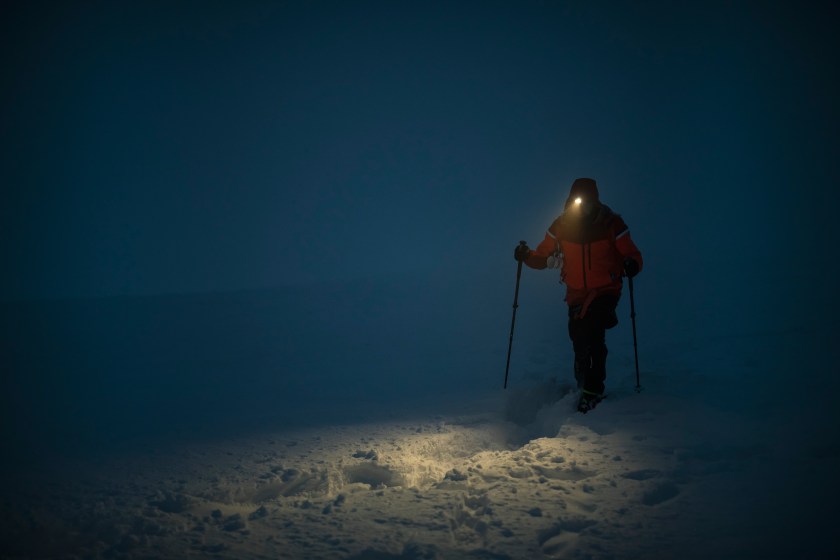
Getty Images, ArtistGNDphotography
There's a whole lot less daylight in the winter months; when I lived in Fairbanks, we only had a little over three hours of daylight during the darkest months of the winter. Night came quickly, and frankly, never really left, as the sun didn't make it far above the horizon even when it rose.
I started carrying a headlamp anytime I left the house and put it to plenty of good use. It's all too easy to get caught out after dark during the winter and, unless you have a clear night and a full moon, you can't get very far without some type of illumination device. I prefer headlamps over flashlights, as the former are often lighter and smaller, plus being able to strap them to my head frees up my hands.
Make sure you carry a spare set of batteries. Most headlamps don't have any way to tell when the batteries are low, and in my experience, they tend to go out right when you need them.
9. A Good Attitude
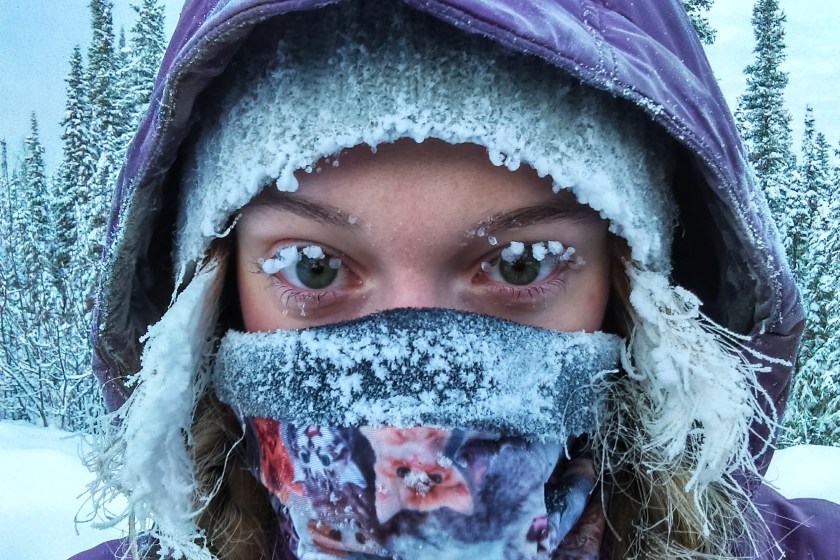
Chelsey Cook for Wide Open Spaces
Confession time: I used to hate winter camping. Those two weeks that I voluntarily spent in a snow cave in Wyoming? Being tucked into my sleeping bag in a snow cave was nice enough, but every other moment was a frozen torment. I spent the majority of those two weeks deeply questioning all of the life choices that led me to that trip.
Finally, after yet another day shivering and moping around camp, one of my friends on the trip, a professional guide who works on Denali and in Antarctica, let me in on a little secret: "Being cold is a choice."
As much as I hated the idea at first—who doesn't hate being told they're choosing to be miserable?—I eventually had to admit that he was right. Provided you're not injured or ill or in an otherwise precarious situation, being cold really is a choice. There's almost always something you can do to warm yourself up. All it takes is a little physical exertion—be it a lap up a nearby hill, a set of pushups in camp, or some shoveling—to get your blood pumping and your body heated up. It can be incredibly hard to motivate yourself to move around when you're cold, but having a good attitude about it and recognizing when you need to get up and do something is in my opinion the best survival skill you can have when recreating in the winter.
I spend numerous weeks living on glaciers each year, and whenever I feel cold (or down), I look around and see what I can do to get moving. I've held push-up contests in base camps, played a very active game of charades with clients, built snow caves for the sole purpose of playing Bananagrams inside them, and tracked animals through the snow simply to move around and build some heat.
Snow days from school are a cherished part of childhood; if done properly, winter recreation can feel a lot like an adult snow day. The secret? Make sure you're properly prepared with the gear and skills you need to stay safe, you have a good attitude, and you get out for some fun.
READ MORE: 5 Best Winter Tents of 2023