A successful deer hunt yields a hefty amount of venison—about 60 pounds, depending on the size of the deer. Whether you process the meat yourself or take it to the butcher, you'll have a lot of wild game meat to eat.
In the first week or so, you'll work your way through your favorite venison recipes using ground venison, backstrap, tenderloin, and roast. You may also cook up a few scrumptious stews and some delectable venison jerky. But you'll still have a surplus of deer meat and, let's be honest, you can only eat venison so many nights in a row and you only have so much space in your freezer for deer meat.
To preserve deer meat, there's one method we swear by: canning venison. It ensures you always have some safely prepared and ready for use year-round.
Is Canning Venison Worth It?
Absolutely! Even though some prep work is required, canning venison is a skill every hunter should be familiar with. Canning venison also eliminates the chance of losing meat due to a power outage or freezer failure. The rewards of having canned meat on hand are more than worth the afternoon of work required for the bounty of safely preserved meat you can enjoy year-round—or until the next deer hunt opening day.
How To Can Venison
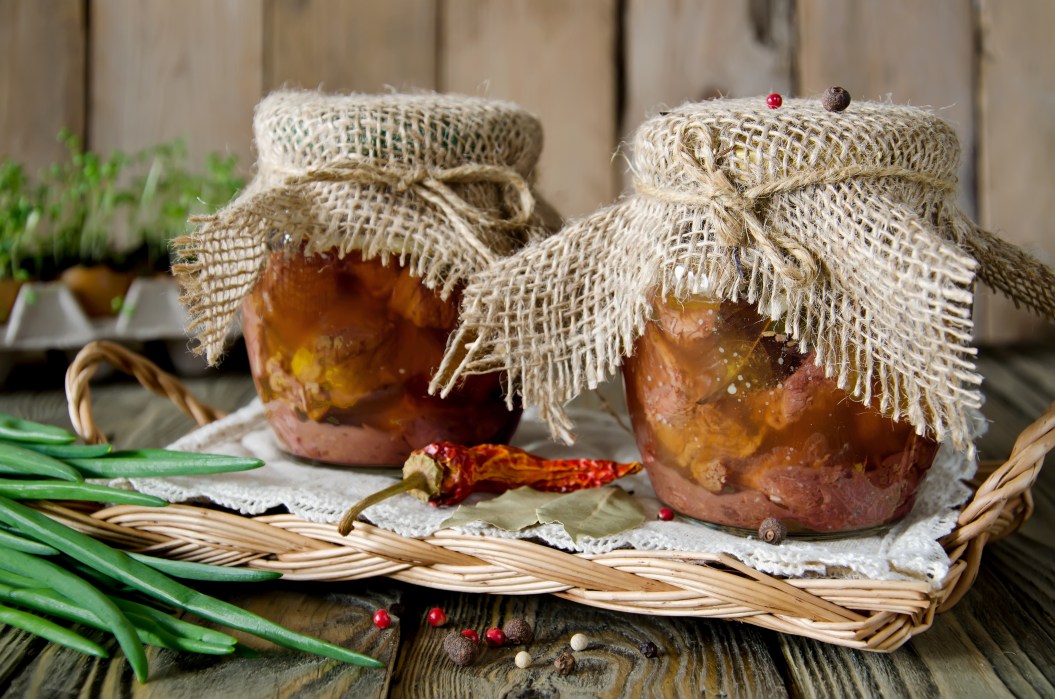
Getty Images, Vladimir Mironov
All you need to start the process of canning venison are some empty glass canning jars, some canning salt and other spices (optional), a pressure canner or pressure cooker, and the deer meat. The pressure canner is essential to safely preserve your raw meat during the process.
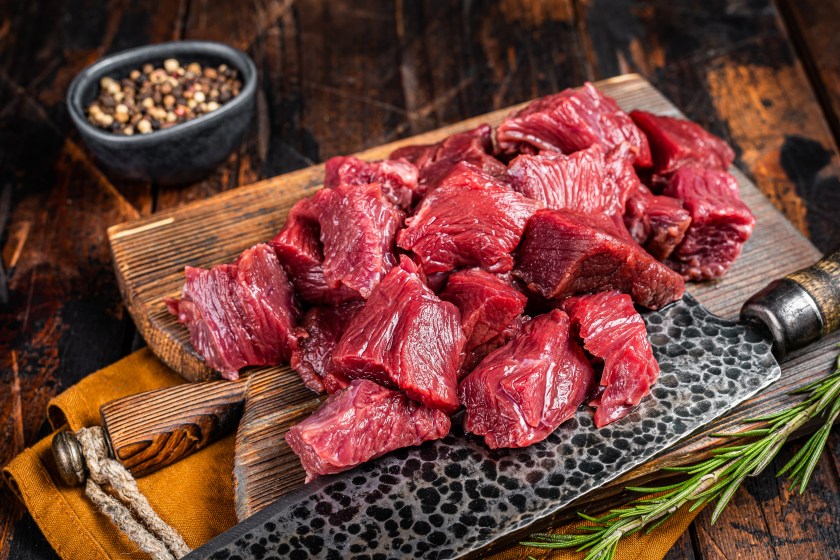
Canning Venison, Step 1: Cut Up the Deer Meat
First, cut up your venison, removing any excess connective tissue, silver skin, or fat into your desired size. Cubed meat works great, but you can adjust the size of your cuts to suit your needs.
While cutting, think about the recipes you will prepare with canned venison in the future during this step. Cutting the meat into the sizes recipes call for before canning will save you time and energy when you are ready to cook.
This is also a good time to chop any vegetables you may want to include in the jars of meat for extra flavoring. This step is not required, but some common additions that add good flavor are onion and garlic.
Step 2: Prepare and Pack the Jars
You are ready to can venison once you have all your meat prepared. Sanitize your jars and line them up on your workspace. Begin to fill them with meat. Compact the meat into the jar to get out as much air as possible. A wooden spoon is a great tool for the job. Leave about a one-inch head space between the jar rims and the canning meat.
Step 3: Add Salt and Seasonings
After the jars are filled with meat, add the canning salt and other spices, if desired. A good measure for the salt is to use one to two teaspoons per quart of meat. You don't have to include additional spices or flavoring agents, but some people find the meat tastes better when they do. Depending how many jars of venison you're canning, you might try adding black pepper and/or freshly chopped onions and garlic to some jars and leave others without, to find out which way you prefer.
What you do not need to add: water or other liquid. This is something that many people are surprised by the first time they can meat, but the meat will produce a natural broth in the jars.
Step 4: Clean and Seal the Jars
Next, carefully wipe down the rims of the jars with a damp cloth or paper towel. You don't want to leave any meat juice or residue behind, as this may interfere with sealing. Place warmed lids on every jar and firmly screw bands on top, then place the cans into your pressure canner.
Step 5: Run the Pressure Canner
Follow your pressure canner's instructions to finish preparing and sealing the jars correctly. It's important to note that your area's elevation affects both the sealing time and the pressure required to preserve your venison safely. The general rule of thumb for altitudes of 1,000 feet and below is 10 pounds of pressure for one hour and 30 minutes of processing time for quart-sized jars.
Step 6: Label and Store the Cans
Once the jars have been pressurized to seal them and cooled, give them a quick rinse (if desired), wipe them dry, and clearly label the type of meat and date of canning on the jars.
Store your canned venison in a cool, dry place, and you'll have meat available whenever you want it.