RV owners generally hit pause on adventures as soon as winter weather hits, while others hunker down for the season, choosing to spend the winter in their RV. If your recreational vehicle is heading for winter storage, it's not as simple as just parking your rig.
Winterizing your camper depends on where it will be stored for the off-season—inside a garage or storage facility or out in the elements—but no matter what, you must do a few things at the end of every camping season. The last thing you want to do is pull your RV out of storage and find yourself with a litany of preventable repairs.
Here are my family's best tips for winter RV storage prep that always get us successfully through the winter doldrums and back into the summer camping season.
Why RVers Should Winterize Their Rigs
Getty Images, Welcomia
You may be thinking, what is winterizing, and do I really need to do it? The short answers: It's preparing your RV to be idle all winter, and "Yes!" Anytime your RV sits for a long period, systems need to be maintained. But during winter, your biggest concern isn't the gasoline going stale. You have to worry about your water systems, holding tanks, and lines freezing over, which can cause serious damage to your RV. Prepping your motorhome or travel trailer for cold weather also sets you up for success for spring camping and prevents damage from winter storms and critters while it's not in use.
We've had our Grand Design travel trailer for four years and haven't had many issues over winter, except for a few leaks in the window seal (which were manufacturer issues, not weather-related). Winters are typically pretty mild where we live in Northern California, but temperatures drop below freezing to about 13 degrees at their coldest. So emptying our water lines is an imperative first step when prepping for winter. Snowstorms are few and far between (typically two or three a season), but we get plenty of wind and rain. Our travel trailer is stored outside without an overhang. However, it sits on concrete and is far away from any trees.
Though our winters are milder than, say, the frigid temperatures in the Midwest, we complete all of our winterization steps before the cold temperatures hit—typically by mid-November. Ours sits from the end of November to around April, depending on what the weather systems bring.
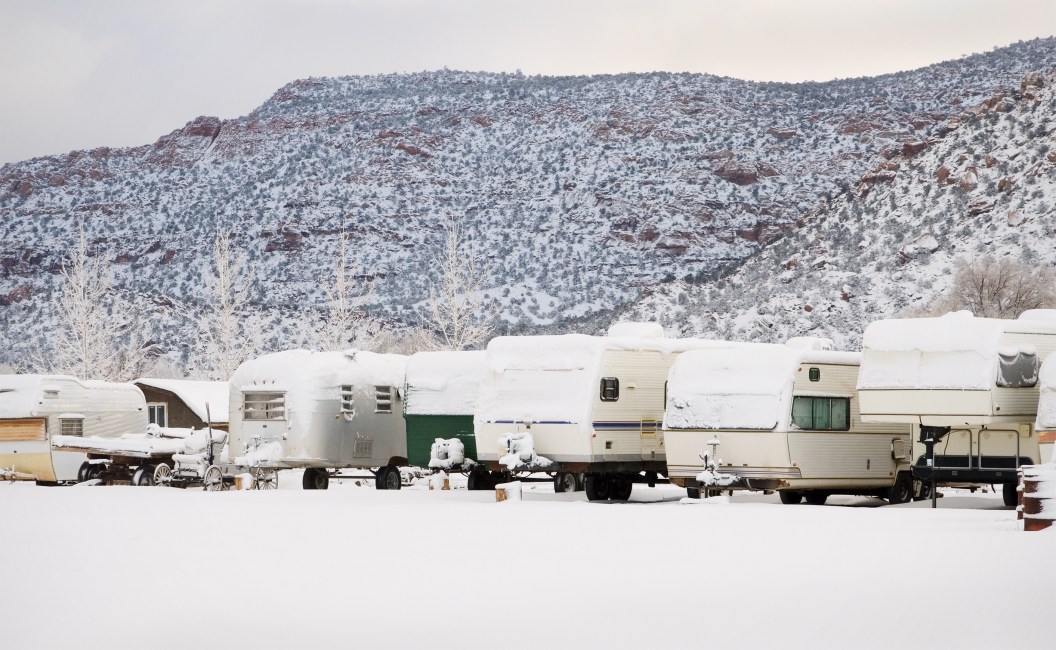
Where to Store Your RV
Getty Images, Kwurt
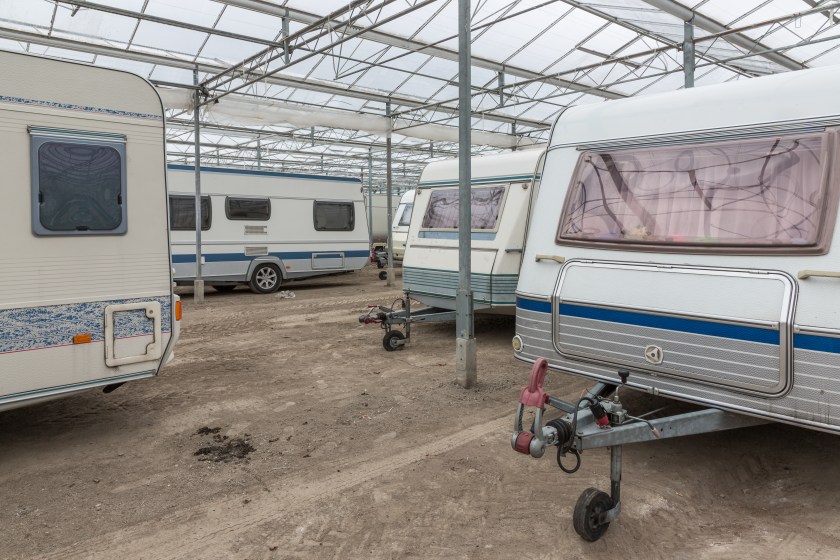
Not everyone is lucky enough to have a garage large enough to house an RV at their home to keep their rig dry and safe during the winter months. While many people store them on their property, some Homeowners Associations (HOAs) won't allow it, which could leave you scrambling.
When choosing an RV storage spot or facility, pick one that doesn't have a lot of trees that could cause damage to your RV. You also want to pick a storage lot that is flat and paved. Avoid parking your RV on sand, grass, or dirt, as these materials can cause damage to the sidewalls and tires, especially if they sink due to wet weather, leaving your rig stuck in the mud and possibly causing damage to your tires or rims. To avoid this, some RV owners opt for an indoor storage unit that is temperature-controlled, but that can be expensive with limited availability.
Overall, storing your RV can cost anywhere from $50 to $450 a month, depending on your area and your needs. Basic uncovered lots generally run in the $50- to $100-a-month range. For example, the uncovered lot by our home in Northern California costs about $75 a month. It's pretty barebones, with massive pine trees hanging over some of the RVs.
Covered lots charge between $100 to $250, depending on the lot, space, and additional amenities. Temperature-controlled units through places like U-Haul or Extra Space Storage run anywhere from $250 to $450. While all these ranges are wide, the gap is due to city, location, and lot type.
On top of regular winterization (more below), ensure you follow all the rules of your storage facility. Most will also require copies of your insurance and ID before completing their forms.
How to Prep Your RV for Storage, Step by Step
Getty Images, Welcomia
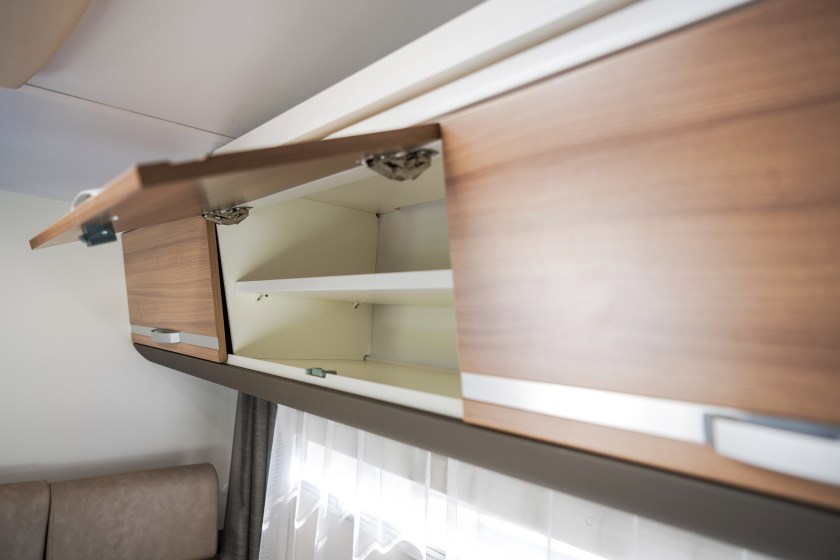
1. Empty the Cabinets, Cupboards, and Fridge
The first task is one of the quickest for me as we typically take out all food when we get home from a trip. But, every now and then, something gets left in the cupboards or fridge. You want to remove anything stored in the RV that could attract rodents or bugs and anything that may freeze. I also remove toothpaste, hair spray, and lotion bottles, just in case. While RV experts recommend you take out the linens as well, we've always left ours in and haven't had any issues. If you're parking your RV in a storage unit, you may want to take everything out.
2. Deep-Clean the Interior
Disinfect all your drawers, cupboards, freezer, and refrigerator and leave their doors open to prevent any mold from growing.
Then, dust and vacuum your floors to remove any crumbs. I suggest also opening up your slide-outs and vacuuming them and any upholstered furniture, too. Clean the windows to remove any buildup or tiny fingerprints that may have left ant-attracting residue.
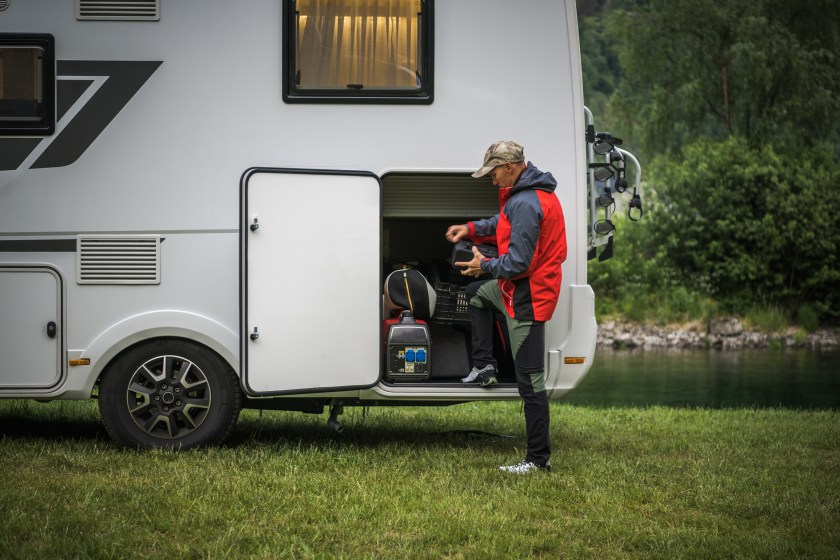
Unplug or disconnect all your appliances, and turn off your propane tank. We remove ours from the RV and store it in the garage for the winter to prevent any possible issues from popping up.
3. Add Desiccants to Reduce Moisture
Moisture buildup is your biggest enemy when it comes to storing your RV. When everything is closed up and sealed off, there isn't any airflow. Mold and mildew can form even if you store your RV in a dry place.
We use desiccants containers to reduce moisture and are surprised at how much moisture they collect every off-season. As a result, we haven't had any issues with mold in the interior of the RV, even though we have had a few window leaks related to manufacturing issues.
4. Install Removable Barriers for Windows
Covering the windows and overhead vents with reflective shielding is a step we also use while traveling—we put them up at night to keep an even temperature. They're thin enough to stack and store alongside the couch or in a kitchen drawer during the day. They provides a great weather barrier and keep the temperature inside more even. In the winter, such a barrier prevents the temperature inside the RV from dropping too much. The reflective shielding comes in rolls and can be cut to fit your windows and vents. They pop right in and are easy to remove if you need to check the windows part way through winter.
5. Cover Up Any Vents or Other Openings
After everything is clean, we check the air conditioning and heating vents and roof after we turn off the gas and cover cover the vent openings. Some experts suggest changing the air conditioning filters before winter storage, but I prefer doing them in the spring before we return to traveling.
6. Refresh Critter Repellent
To keep bugs and rodents away from our rig, we place chunks of Irish spring soap in crawl spaces and any gaps. The soap is one of my favorite repellent hacks. Bugs and rodents of all types are supposed to find the smell of the soap repulsive and stay away. Does it work? While it's not scientifically proven, we haven't had any issues, while friends who don't do this have. I'll let you be the judge.
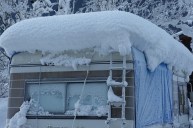
7. Drain Water Tanks and Pipes
The biggest winterization undertaking is draining your water system, but it's not because it's hard. It just takes some time and effort. The last thing you want is for your pipes to freeze. Frozen pipes often burst, leaving you with a mess to clean up. But that's not the only issue. Leftover water stagnates in the pipes, creating a stinky smell that lingers well into the spring camping season. Draining the waste and freshwater systems prevents these two problems.
After draining all your holding tanks, pump RV antifreeze into your pipes to prevent freezing. If you are unsure what to do for your specific system, consult your owner's manual: Some RV maintenance needs to be performed by professionals in order not to void the warranty. Once you complete the previous steps, ensure the water pump and drain lines are turned off.
8. Stabilize Your Fuel
Fuel tends to go bad when it sits for long periods, causing damage to your engines. Adding a fuel stabilizer can prevent deposits from forming and potentially causing harm. Once you add in the stabilizer, finish filling up your tank. Turn your engine on to ensure the stabilizer runs through the entire system.
9. Remove Your Battery
RV batteries are incredibly expensive. You want to prevent damage at all costs. Most RVers take their batteries out of their rigs when prepping for storage. Batteries tend to lose charge while sitting, but storing them in a cool, dry place can help extend their life. You should check them once a month to make sure they're still holding their charge.
10. Inspect Your Exterior
Before you start covering up your RV, make sure you thoroughly inspect the exterior. Give the sidewalls, windows, doors, seams, access panels, and roof a once-over, looking for holes, cracks, and gaps. If any areas need repair, make sure you use caulk that's approved for your RV. If you're unsure, consult your owner's manual or with a professional.
11. Cover Your Tires
Tire covers are worth the investment and, frankly, cost a lot less than a brand-new set of tires. They protect your tires from frost, snow, debris, and UV rays. Before covering your RV tires, inflate them to the appropriate cold-weather pressure per the manual.
If you expect heavy winds, ensure your tire covers are nice and tight. Ours flew off last year, and it took us a week to figure out where they ended up. One was shredded to bits, while the other was salvageable. Another option is to buy RV skirting, which covers the entire undersection of your RV.
12. Consider Covering Your RV
Buying an RV cover seems like a no-brainer, as manufacturers recommend them to increase the longevity of a rig. If you're going the self-storage route and don't have an overhang to protect the RV from debris, branches, and the elements, you may want to opt for the cover.
However, if you live in an area with a lot of wind, the cover can rip, fly off, or rub against the paint, all of which can damage the exterior. Moisture can also get underneath the cover, causing damage to the paint. If you're storing in an enclosed or temperature-controlled unit, you wouldn't need a cover because you are already protected from the elements. We personally don't keep a cover on our RV, but it may be something we look into in the future.
Either way, a cover is something each RV owner must consider based on their storage situation.
READ MORE: Is RV Camping Even *Really* Camping?