
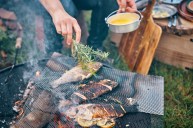
Here are a few simple tips for cooking over a campfire.
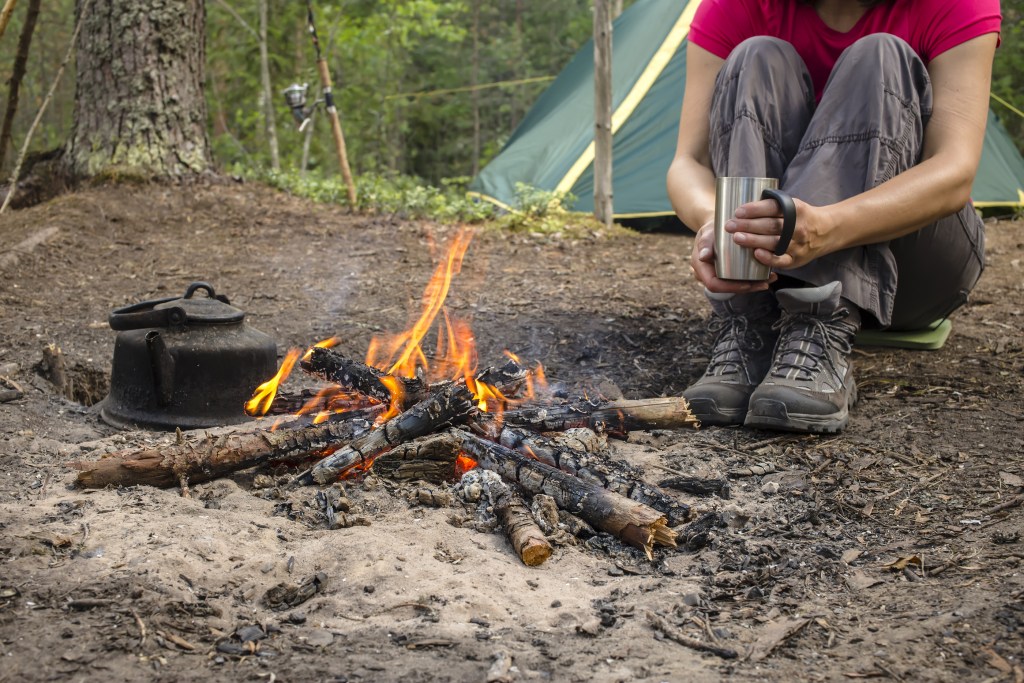
Cooking over a campfire is a joy for some and a necessity for others.
Whether you simply like the taste or you're on a secluded backcountry hunt, here's the '1, 2, 3' of campfire cooking:
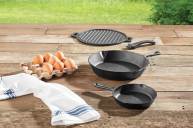
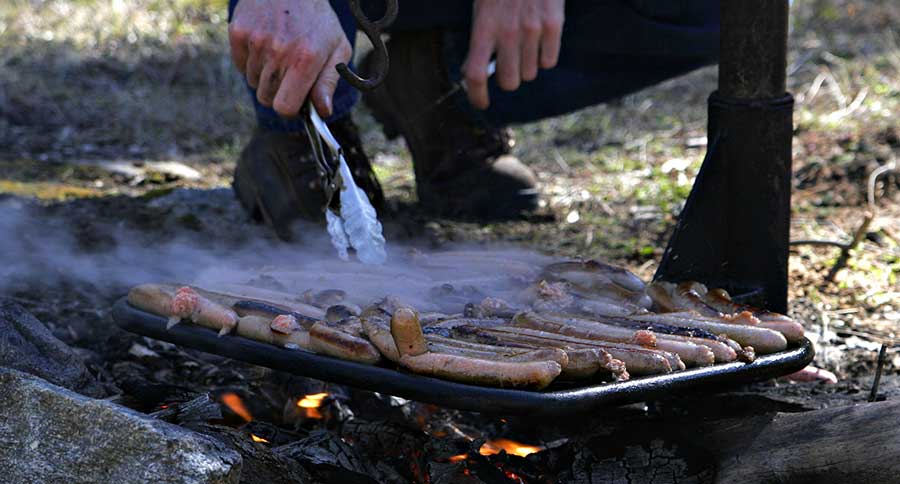
1. One item per pan
Keep it simple by separating your dishes by type. Unless you're reheating some gumbo you've already prepared at home, or you have superhuman strength and carry a giant skillet in your day pack, try separating your dishes to ease the process.
Yes, you may need additional cookware, but it can make life simple if you've got a great lightweight set.
Cook your meat in one dish and your veggies or carbs in another. Heat your bread or anything else in a separate dish altogether or wait until one of the other pans is free. This will allow for much more control over cook time of all of the products.
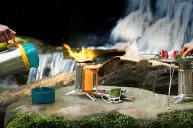
2. Two heat levels
If you've spent any time around a campfire, this should be pretty easy to manage. Start and stoke your fire until it's good and set up. Spread out the larger logs from some of their hot embers and create a warming area and a cooking area.
This will be very helpful if you've followed step one above. It will allow you to have more of your food ready at the same time.
Another way to do this is create separate cooking levels. If you'd rather not mess with the fire itself, create a shelf system using larger logs or metal grates. Allow the food that requires more heat or a longer cook time to sit closer to the heat source while allowing your other products to cook slower or on lower heat.
Either option can work; just treat the fire like your grill at home. The same principles apply.
3. Three styles of wood fuel
How can there be more than one, you ask? Don't you just grab whatever is nearby and light it up? Sure, if you want to fight a battle each time you want to eat.
There are three styles or types of wood you should consider for campfire cooking. Start with an easy-to-light kindling. Often times, you're camping in an area with an abundance of small sticks and twigs: this can work, but more often than not, it'll be a source of frustration as a starter fuel.
Pack a small bag of dried wood shavings or sawdust. A sandwich-style plastic bag is often enough to last a few days if used appropriately. It takes up little room and is virtually weightless.
(Tip: set your shavings in a bowl near a dehumidifier for a day or two before your trip. You'll be sure to have a quick spark and little fuss getting your fire started).
Follow that up with those smaller twigs and sticks or dried grasses. These smaller pieces will heat faster and ignite quicker to help establish the fire. This is also true of dead timber as opposed to fresh. A word of caution, however: be quick to follow up with another fuel source, or your fire may quickly be squelched.
A slow burning solid wood should be relied on as your primary fuel source once the fire is established. This will allow for a consistent amount of heat and take some of the guesswork out of cooking over an open flame. Combine this methodology with the two steps above, and you'll have yourself an outdoor gourmet kitchen with a heck of a view.
Like what you see here? If so, click here to read more great hunting, outdoor, and shooting articles by Reid Vander Veen. Also, check him out on Twitter @ReidVanderVeen and on Instagram.
NEXT: CHECK OUT THESE AWESOME LIGHT-WEIGHT ADVENTURE CAMPERS
WATCH
