It may sound dramatic, but having a well-cared-for, freshly-sharpened knife is life-changing.
In the kitchen, I keep my knives honed and ready to cut through raw vegetables like butter. Seriously: Regularly sharpening kitchen knives will completely revolutionize your home cook experience—not to mention the fact that most people are more likely to cut themselves using a dull knife than an appropriately sharp one.
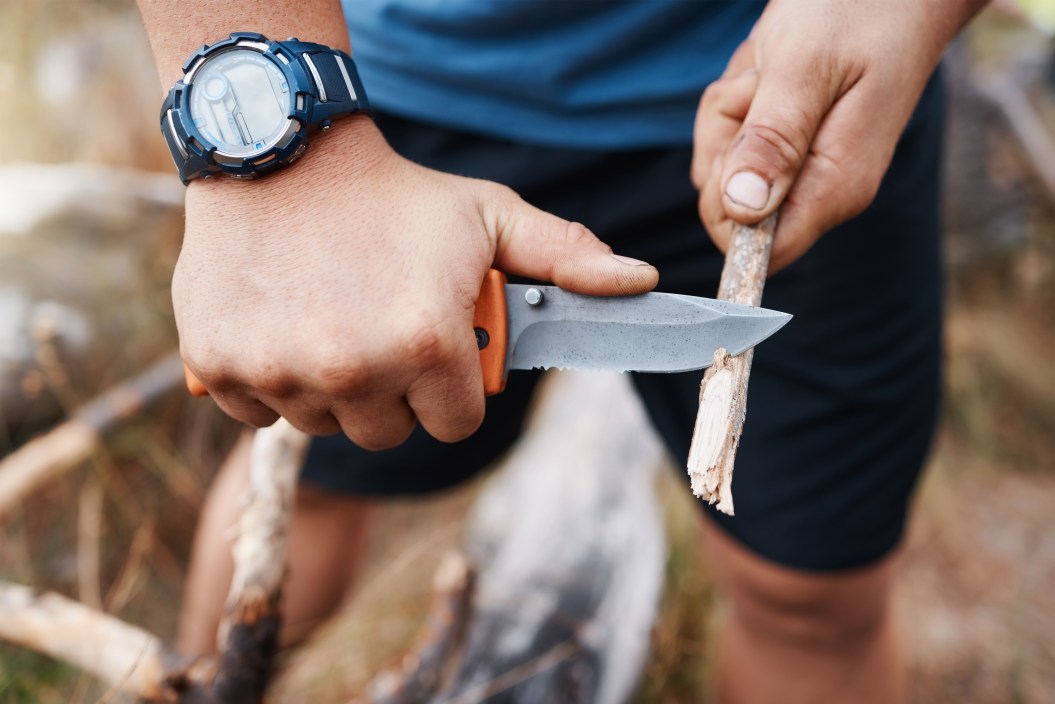
You can—and should—also sharpen pocket knives. As a mountain guide who spends half the year living in the backcountry, I personally use my pocket knife to cut everything from ropes to kindling to repair tape. All of this unorthodox use wears the edge out far quicker than a kitchen knife used to cut vegetables.
Because of this, I sharpen my pocket knives several times throughout the season, keeping it razor-sharp for any field use.
Sharpening a kitchen knife, such as a chef's knife, and sharpening a pocket knife use the same process. But sharpening a fold-out knife takes more care—if you don't keep your fingers well away from the slip joint or locking mechanism while sharpening a fold-out knife, you could accidentally collapse the knife while sharpening it.
Finally, the knife manufacturer might offer lifetime sharpening of its knives, so you may be able to skip this entire article if you don't mind parting with your blades while the company does the work for you.
Tools You'll Need to Sharpen a Knife
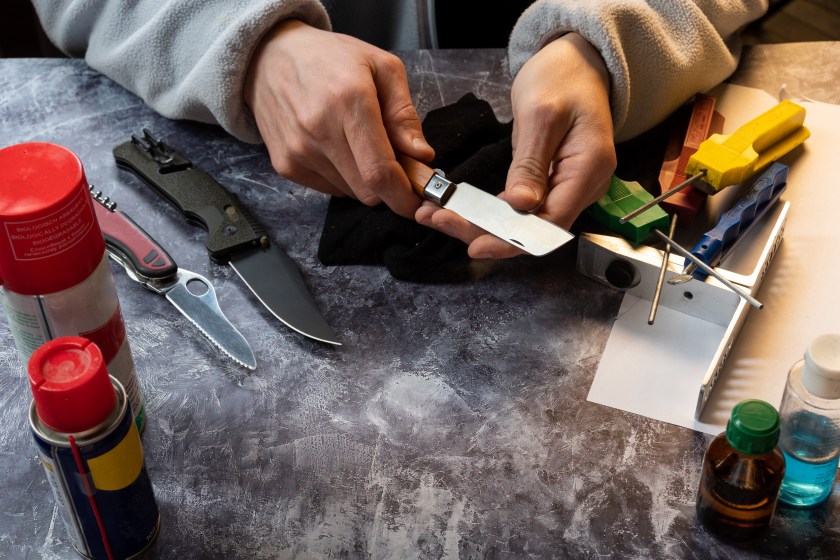
Getty Images, vzwer
Depending on the type of knife and what sharpening method you decide to use, you'll need different sharpening tools.
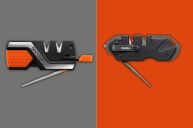
If you want to sharpen your flat-blade knife the traditional way, you'll need a whetstone with a coarse and a fine grit side (we like this one), a large enough container to submerge your stone (such as a baking pan or plastic storage container), a colored marker, and water or light mineral oil, depending on the whetstone manufacturer's recommendation. This method requires some skill to pull off but when done correctly, it removes less of the metal from the blade and prolongs the life of your knife.
If you want to sharpen your flat-blade knives using a pull-through sharpener, all you'll need is the sharpener, which can be bought online at Amazon or at most major stores, with prices ranging from $10 to $100 (we like this one). This method is more foolproof but it tends to strip off more metal, so if you do it often, your blade will whittle down faster and won't last you quite as long.
However, neither of these tools will work for serrated knives. For those, you'll need a ceramic sharpening rod (try this one from Green Elephant). This handled stick of hard ceramic comes in different grits that can sharpen within the teeth of a knife's serrations. These rods taper to a point so they can be used on different knives that have differently sized serrations, allowing you to find the diameter of the rod that best fits your knife.
How to Sharpen a Knife Using a Whetstone
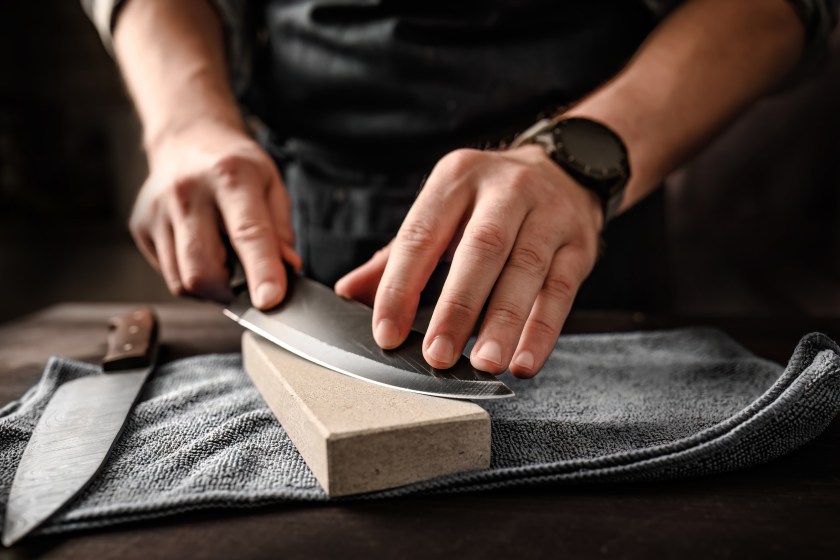
Getty Images, Zheka-Boss
A whetstone, or a sharpening stone, is the traditional way of sharpening a knife blade. While real stone was the original material, many synthetic options are available today.
Sharpening stones work by grinding or shaving off bits of the metal to refine the blade. However, these metal shavings can clog the stone, making it ineffective. To avoid that, whetstones need to be lubricated with either water or oil. Most stones require water, but make sure to check the manufacturer's recommendation. Then, follow this tutorial.
1. Prepare the Whetstone
To prepare the whetstone, place the stone inside the large container and fill around it with the lubricant recommended by the manufacturer so you submerge the stone fully (lift it up slightly so the liquid gets under it, too). Bubbles will begin rising from the stone as water pushes air out. Wait 10 to 15 minutes, or until the bubbles stop rising, then remove the whetstone.
Next, you'll have to secure the whetstone to your work surface so it doesn't slip while you sharpen. Most whetstones come with a holder for that purpose, but if yours doesn't, wrap the base of the stone in a towel to prevent it from slipping on the table. Make sure the stone has the coarse-grit side facing up; the lower the grit number, the coarser the stone. Most coarse-grit stones are labeled under 1,000 grit and the fine grit is a higher number. Orient the stone in front of you the long way.
2. Prepare Your Knife
The cutting edge of the knife is called the bevel, and what makes it sharp is that the metal is honed to a narrow angle that can slice through the things you want to cut. Most knives' bevels are angled somewhere between 20 degrees and 25 degrees, so you'll have to sharpen the blade at that angle. Further, most knives have bevels on both sides of the blade, so you'll have to sharpen both sides to ensure a honed cutting edge.
To get the finest blade, you have to maintain steady contact between the angled bevel and the whetstone. This can be difficult to master, but you can use this prep trick to ensure that you're sharpening the bevel evenly. Take your marker and color along the whole length of the bevel. You'll use this ink as a spot-check during sharpening: If the marker ink disappears from the bevel along the whole length, you're sharpening the blade evenly.
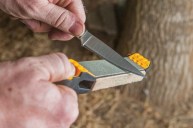
3. Sharpen the Knife
Grasp the knife by the handle and hold the dull blade facing away from you and against the whetstone at a 20-degree angle to 25-degree angle with light pressure. Rest the fingers of your other hand on the spine of the blade to steady it.
Begin passing the blade down the whetstone in one direction only, maintaining your consistent angle. Pass the blade over the stone 10 to 15 times, then check to ensure the marker is disappearing evenly from the bevel. Swipe your thumb carefully and perpendicularly along the blade. You should feel a small catch or bump in the blade. This is the burr, or the waste metal that forms along the edge of the blade after sharpening it. Once a burr has formed down the whole length of the blade, flip the knife over, and repeat the sharpening process on the other side of the knife. It may take some time to get accustomed to the sharpening technique using your non-dominant hand.
If your whetstone begins developing dry spots during the sharpening process, dribble more water (or oil) on it to keep it lubricated. There's no such thing as too wet of a stone, but there is such a thing as too dry of one.
4. Refine the Bevel
Once you have a burr on each side of the blade, you'll need to refine it to finish the knife. Flip your whetstone over so that the fine-grit side is facing up. Now, repeat the process above. Hold the blade at a 20- to 25-degree angle, and pass it down the whetstone 10 to 15 times. Repeat on the other side of the blade.
5. Test the Blade's New Edge
Once you've polished your knife on the fine-grit surface, it's time to test it. Grab a piece of paper and cut it with the knife blade held at a 45-degree angle. If the knife catches at all, stroke it down the fine-grit side of the whetstone until it can cleanly cut through paper.
When you're satisfied that you have a well-honed sharp knife, wipe it clean to remove any remaining powdered metal and put it away in the knife block or use it for whatever task you had planned!
How to Sharpen a Knife Using a Pull-Through Sharpener
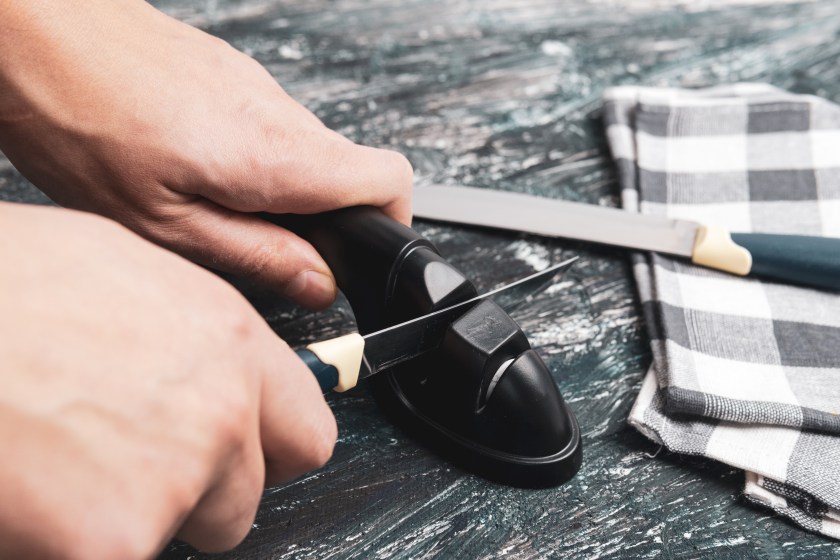
Getty Images, ??????? ???????
If using a whetstone to sharpen your blade sounds like a lot of work, you can opt for a pull-through knife sharpener, which has slots to do the coarse sharpening of the bevel and fine honing of the burr, respectively. There are also electric knife sharpeners that function much the same way, though they use small, spinning plates of abrasive material to sharpen the knife blade.
Step 1: Set Up the Sharpener
Secure the sharpener to a sturdy surface like a countertop or table. Some sharpeners come with a vise for this purpose, but if not, simply hold the sharpener firmly down on the surface.
Step 2: Sharpen the Blade
Begin by pulling your knife through the coarse side of the sharpener. Because the sharpener contains gritted stones set at the right angle for the bevel, you just need to hold the knife perpendicularly to the device. If you're curious to see your progress, you can use the marker method, but it shouldn't be necessary here.
Step 3: Hone and Test the Edge
After a few passes through the coarse slot, pull the knife through the fine side of the sharpener to polish it. Test it on a piece of paper, and if it doesn't cut cleanly, return to the fine side of the sharpener to hone a little more. Wipe clean and use or put away.
How to Sharpen a Serrated Knife
Getty Images, SasaJo
The good news here: Serrated knives don't go dull as quickly as straight blades. Because the sharp edges of a serrated blade are recessed within the teeth, they don't come in contact with hard surfaces like cutting boards the same way that straight-bladed knives do. However, all knives can get dull just from being thrown in the dishwasher or a drawer, so even serrated knives occasionally need to be sharpened.
To sharpen a serrated knife, you need to sharpen the bevel of every one of the recessed serrations using a narrow, tapered ceramic sharpening or honing rod. Serrated teeth only have the bevel on one side, so you'll only have to do the fussy work on that side, and you can use your whetstone (or some fine-grit sandpaper in a pinch, just make sure it's 600 grit or higher) to clean off the burr from the other.
1. Sharpen the Serrated Teeth Individually
Before you start sharpening, place the rod within one tooth of your blade to determine where along the rod's taper you should start your sharpening. Once you've figured that out, angle the knife at that 20- to 25-degree bevel angle, and pass the sharpening rod down the serration. Repeat 5 to 10 times per serration.
2. Hone the Blade's Other Side
Once you've finished with each tooth, run the flat, non-beveled side of the blade down a regular whetstone to remove the burr. Wipe the knife clean and use or store.
DIY Ways to Sharpen a Knife
Forgot your whetstone, or want to try a creative way to sharpen your straight-bladed knives? Check out these tricks.
Sandpaper
Sandpaper acts similarly to a whetstone. Simply grab a piece of sandpaper with a grit of 600 or higher, hold it flat, angle your blade at 20 to 25 degrees, and make your passes just as you would on a whetstone. Cheap and very light, sandpaper can easily be carried in a repair kit and can be a great option to touch up blades in the backcountry. If there are knicks in the blade or the blade is very dull, you can start with coarser-grit sandpaper (200-400 grit) to repair the blade, and then work your way into finer-grit sandpaper to finish the blad.
Ceramic mug
Grab your favorite coffee mug and flip it over. There should be a raised, unpainted rim around the bottom. This is the part of the mug that touches the kiln while it's being fired, and it is incredibly hard. Holding your knife at the bevel angle, run the edge along the unpainted rim until your knife blade is sharp.
Leather
Technically called stropping, running your blade along a piece of leather realigns the knife edge, removes metal shavings, and polishes the blade. While it can't fully sharpen a knife, it can help revive a slightly dull edge. Grab a piece of leather, or even a leather glove, and run the blade down it at an angle, just as you would a whetstone. Stropping will also bring a bright shine to the bevel of the blade.
READ MORE: How to Build a Campfire the Right Way