While hiking and other outdoor adventures all come with their own risks in the summer, it's a whole different game in the winter. Unpredictable weather, high winds, cold temperatures, and heavy snow can all quickly turn what should have been an invigorating day out into an unexpected epic event. And with shorter days and longer nights, you may find yourself stuck out overnight—a potentially dangerous situation, if you don't have the right winter gear or a way to hunker down until it's safe to head home.
Snow shelters have saved some of my friends' lives, giving them a safe place to rest and wait for rescue after being involved in accidents in the mountains of Alaska. Knowing how to build a snow shelter quickly has become an important skill in my own outdoor risk management plan, and one that my partners and I regularly practice. Here's what you need to know.
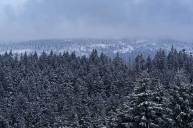
Why Learn How to Build a Snow Shelter?
Getty Images, Star Tribune
Unexpectedly harsh winter weather has killed numerous hikers and outdoor adventurers over the years, from the unprepared to the highly experienced. People get lost or hurt during a hike and wind up spending far more time outside than they were planning or prepared for. They often die from this exposure, succumbing to hypothermia.
Knowing how to build a snow shelter can mitigate this risk. Snow shelters will keep the worst of the wind and snow off of you, and the snow itself will insulate you, reducing the risk of hypothermia.
Luckily, the practice of building a snow shelter itself is enjoyable, and these structures don't have to just be for emergencies. Some snow shelters can be downright luxurious! I've gone on several backcountry skiing trips where snow shelters such as quinzhees were our homebase, complete with indoor shelving and whole other shelters dedicated solely to eating dinner, drinking whisky, or playing Bananagrams. Just like snowmen, building a snow shelter can be a fun snow day activity for you, your friends, and your family. So, next time you get a snowstorm, head out into the woods, the local park, or your own backyard and play around with building a snow shelter for yourself.
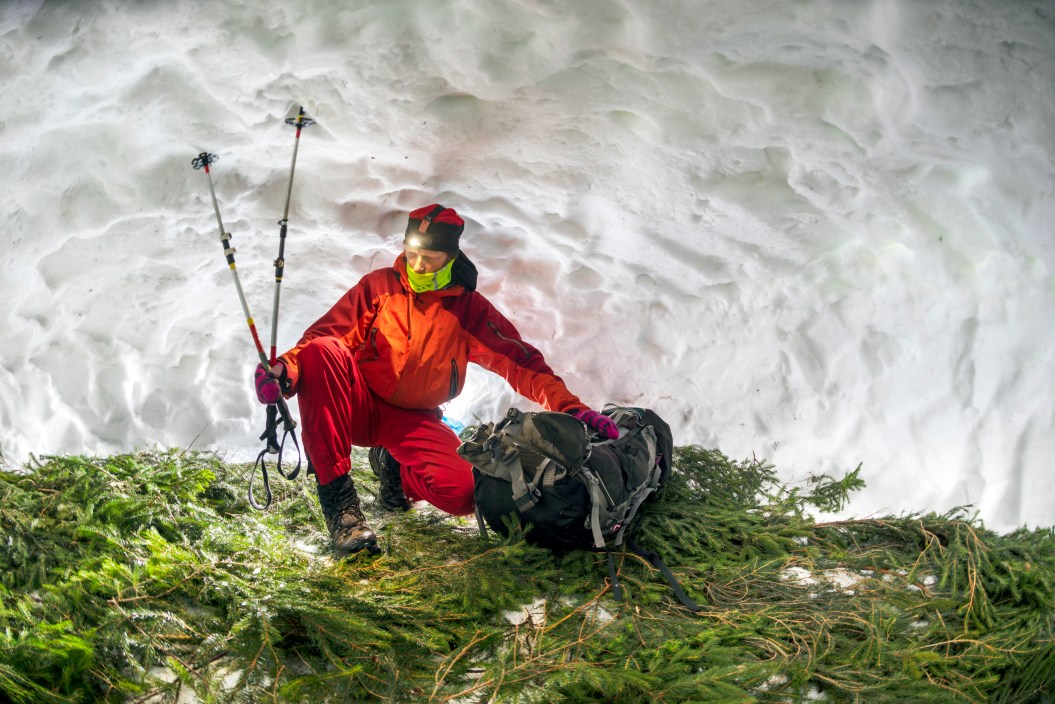
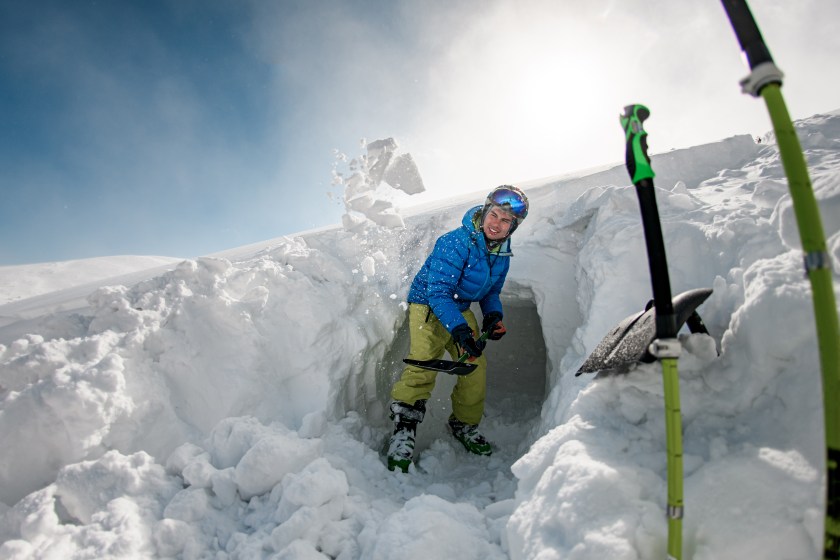
What Types of Snow Shelters Can You Build?
Getty Images, wanderluster
There are many different types of snow shelters, from sophisticated igloos to simple snow caves, and elaborate quinzhees to basic snow trenches and tree pits. The type of snow shelter you choose to build depends on several factors.
First, the snow shelter you choose depends on how much time you have to build it. If you're in an emergency, you probably aren't going to want to spend the time and energy needed to build an igloo, for example.
Secondly, the type of snow shelter you build depends on the snow conditions where you are. More elaborate snow shelters work much better with warmer, denser snow than the dry powdery kind, while snow caves and trenches can be dug into just about any kind of snow.
The three shelters that I've used the most are quinzhees, snow caves, and snow trenches.
"Quinzhee" is an Athabaskan name for the traditional shelter that the indigenous people of the same name have used and continue to use. They're similar to an igloo in shape but don't require the hard-packed snow that's needed to create the igloo. Instead, they're built by mounding snow and then hollowing it out from the inside.
A snow cave is similar to a quinzhee in that it's a hollowed-out space. However, instead of mounding snow, snow caves are simply dug out of a drift or ridge of snow. They're far simpler to make than quinzhees, but not as luxurious.
Snow trenches are the simplest type of snow shelter. They're exactly what they sound like: a trench dug out of the snow. The trench on its own protects you from wind and insulates you. If needed, you can also cover the trench with a tarp, evergreen branches, or snow blocks to protect you further.
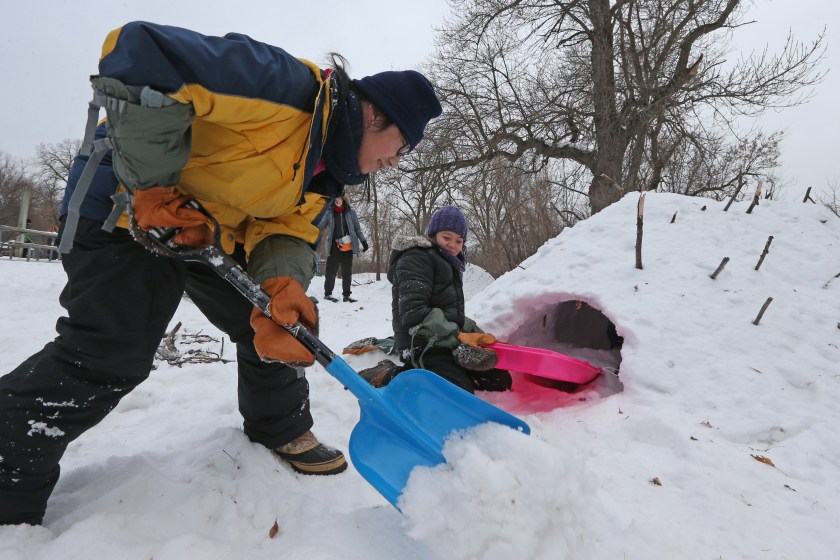
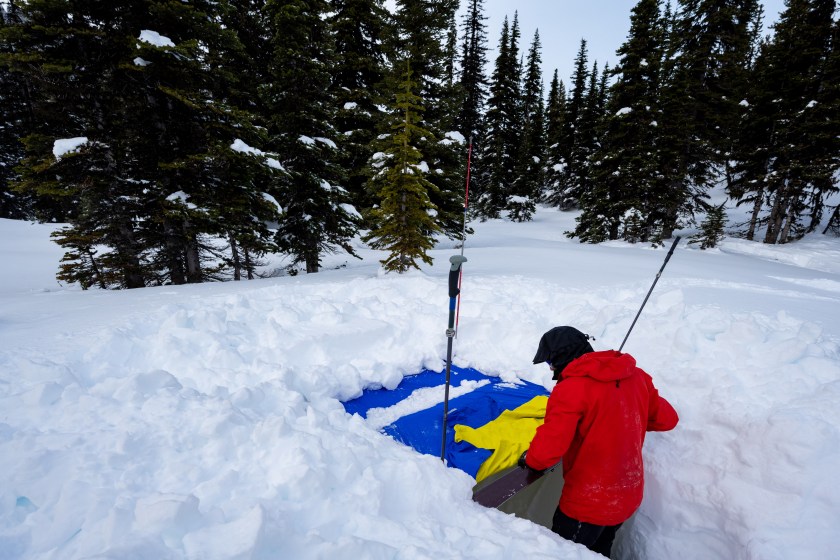
What Do You Need to Build a Snow Shelter?
Getty Images, Daniel Balakov
The main ingredients to build a snow shelter are simple: snow and a shovel. Generally speaking, the more snow the better, though I've built a shelter with as little as a foot of snow.
As for shovels, any shovel will do, though if you're going into the backcountry, you'll want a light, small shovel to carry. I prefer to pack an avalanche shovel, like the Black Diamond Evac 9 Shovel. This type of snow shovel is designed to be carried in a backpack and to move a lot of heavy snow quickly, with a shaft that extends to full length to allow you to stand up straight while shoveling, and a metal shovel blade that's practically bomb-proof.
Shoveling is a lot of work, so you'll also want to have enough water and food to keep you fueled throughout the exercise. If you're building a quinzhee, you could be shoveling for several hours. Make sure you pace yourself, don't sweat through your clothes, and stay hydrated.
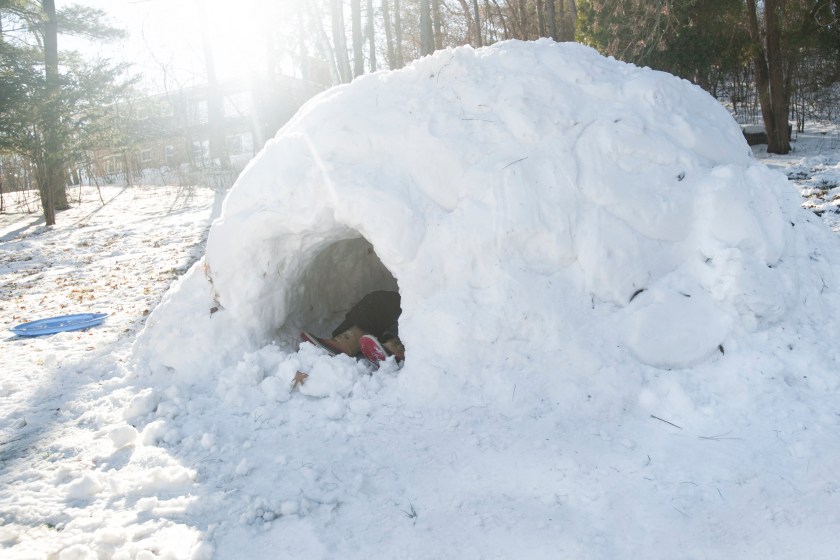
How to Build a Quinzhee Snow Shelter
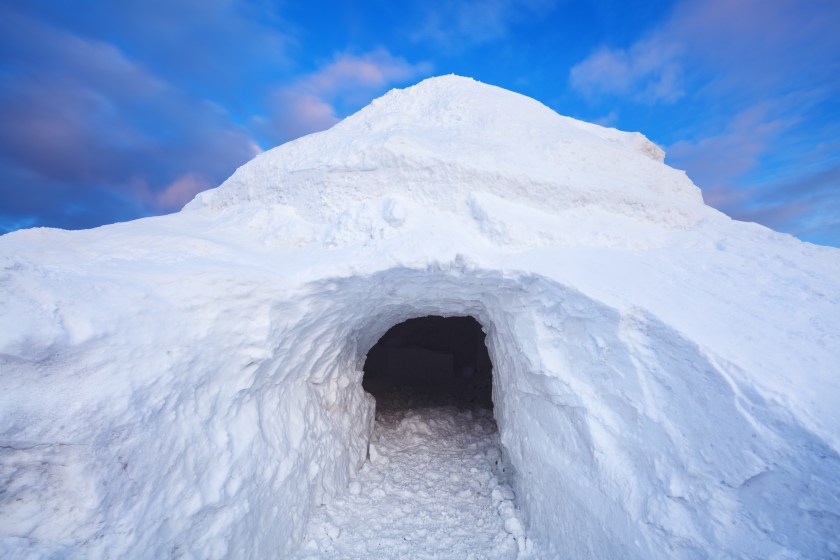
Getty Images, borchee
I've slept in hollowed-out snow shelters, also known as quinzhees, in Wyoming and Alaska, spending up to two weeks living in them. The thick insulating walls combined with body heat mean that temperatures inside can warm to just below freezing even when the outside temperature is -20. Quinzhees can also be built to fit several people, and I've slept in quinzhees with up to four people.
Building a quinzhee is hard work, and the mound of snow needed is intimidating, even for a two-person shelter. Because of that, they aren't the best choice for an emergency situation or an overnight trip. I choose to make a quinzhee when I'll be camping in the same spot for several days. They're also fun to build in the backyard, and I've built quinzhees at home for hosting neighborhood cocktail hours!
Steps to Building a Quinzhee
1. Plan your hut's size. Before you start piling snow for your quinzhee, you must determine roughly how large a pile you'll need. The easiest way to do this is to have everyone who will be sleeping in the shelter lie down beside each other, and then draw a circle around them. To account for the walls, you'll want your border at least 1.5 feet wider than the circle.
2. Start piling snow. You'll want a mound that is at least 6 feet tall and well-rounded—a pointy pile will leave less headroom in your finished shelter. This can take a few hours to accomplish, so make sure to pace yourself and stay fueled.
3. Measure wall thickness. As you build, shove some two-foot-long sticks into the pile of snow at regular intervals around the dome shape. You'll use these as guides to know how much to hollow the mound out to maintain thick enough walls. If you make your walls too thin, the quinzhee could collapse. If you can't find any sticks, hiking poles or ski poles can also work—just aim to insert them about two feet deep.
4. Let it 'sinter.' In temperatures significantly below zero, your finished pile of snow will likely be powdery and unconsolidated. This is not the type of snow you want to start hollowing out; it'll collapse in on itself as soon as you start. (Think of it as the difference between making a sandcastle on the beach with dry sand versus wet sand.) Therefore, you have to let the snow pile "sinter." Sintering is the physical process that bonds snowflakes together. If you let your snow pile sit, it'll naturally sinter and harden. The amount of time it takes depends on the snow. Warm, dense snow will sinter quickly but if the snow is cold and dry, it could take several hours. Test the snow by shoveling out a small bit near the door; if the snow doesn't crumble, it's ready to hollow.
5. Excavate your entrance. Once it's time to start hollowing out your quinzhee, start with placing the door. Pick a side that's away from the prevailing winds; you don't want cold air shooting straight into your snow shelter. The entrance should be a low tunnel, with a door that's just large enough to slither through. Dig into the mound about two feet and then start digging upwards and outwards, making a hollow. You want your walls to be 1 to 2 feet thick. Once you begin to reach this thickness, carefully scoop and shave down the walls, as if you're hollowing out a pumpkin. The sticks you shoved into the snow pile are your guide. If you uncover a stick while hollowing out your quinzhee, you know you're hollowed out enough in that area.
6. Create your sleeping quarters. The sleeping platform should be higher than the entrance tunnel. Once you've dug out the entryway, you'll want to hollow out the sleeping platform a foot or two higher up than the bottom of the tunnel. Raising the sleeping platform will keep you warmer, as the cool air entering through the entrance hole will sink below the platform. Continue hollowing out the quinzhee evenly on all sides until you reach the tips of all of the sticks you drove into the outside of the shelter.
7. Take turns. The person who is hollowing out the quinzhee—affectionately referred to as the "mole"—will inevitably get very wet. Make sure to wear waterproof layers before climbing inside to shovel. Rotate out your mole so one person doesn't tire out or get too soaked. Anyone who isn't actively hollowing out the quinzhee should be outside clearing away the snow the mole is excavating from the entrance.
8. Move in! Once your quinzhee is evenly hollowed out, it's time to move in. Remove the sticks from the outside; this will create small ventholes in the snow to increase ventilation. If the weather is particularly cold or windy, cut snow blocks or roll large snowballs to partially cover the entrance. If your walls are thick enough, you can also carve out shelves on the inside of the quinzhee to help organize your gear. Your quinzhee hut's inner walls will inevitably melt and refreeze as you spend time in it. Don't worry—this refreezing strengthens the walls of the quinzhee. While a properly built quinzhee should keep you warm enough, if you worry about being cold in your shelter, bring a candle to light. Even such a small flame will create a surprising amount of heat in the shelter.
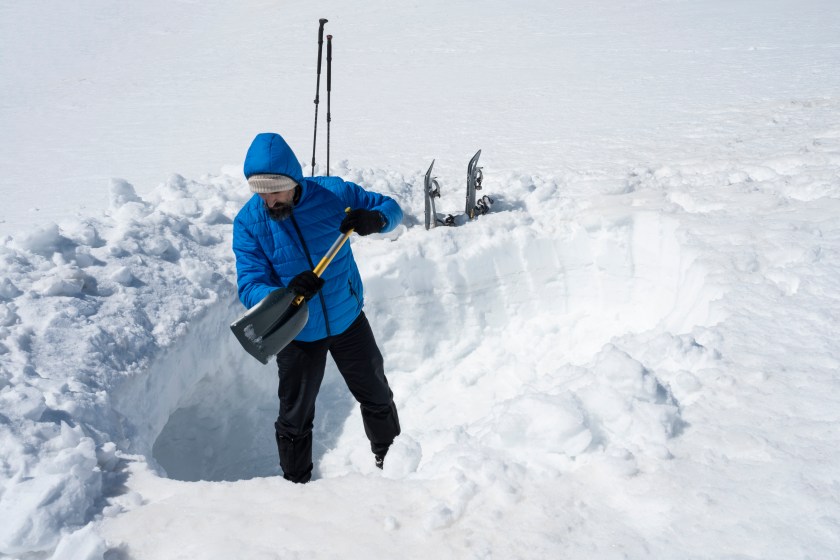
How to Build a Snow Cave
Getty Images, MaximFesenko
If quinzhees are the name-brand snow shelter, snow caves are their cheaper, generic cousins. Don't let that fool you though; snow caves are still phenomenal shelters, even though they lack the refinement of quinzhees. They're also a lot easier to build. To make a snow cave, instead of piling snow up to dig out, you simply dig out a pile that already exists. But that also means that snow caves are typically smaller than quinzhees, as you have less control over the amount of snow you have to work with. Snow caves are generally poorly suited to longer stays in the backcountry, but they work just fine for a night or two, whether planned or in an emergency.
1. Choose your snow pile. To build your snow cave, you first have to find a suitable pile of snow. Look for snow drifts or banks of snow formed by wind pushing snow into one area, like on the downwind side of a hill or against a stand of trees. You'll want to find a pile of snow large enough to dig out a place for you and your companions to lie down. If you can't find a pile of snow large enough, you may shovel more snow on top of the most suitable option, but you'll have to wait a few hours for the snow to sinter before you begin excavating the snow cave, just like a quinzhee.
2. Measure the walls. Just as with a quinzhee hut, you'll want to use 2-foot-long sticks to measure your walls. Push the sticks into the pile of snow at even intervals. If you're excavating a snow drift that backs up to a hill or a stand of trees, you may not be able to push your sticks into the entire snow cave, but that's OK; the hill or trees will support the snow cave on that side.
3. Begin excavating. Start with digging a small entrance just large enough to crawl through. If your snow drift is against a hill, dig the entrance directly into the slope at a 90-degree angle. Ideally, your entrance tunnel should be 1 to 2 feet long, to prevent cold air from entering the sleeping chamber. After that, begin digging up and out to form the sleeping area. Your snow pile may not be big enough to dig a raised sleeping platform like a quinzee hut. Depending on the size of your snow drift, the inside of your snow cave may be just big enough to slither into and lie down.
4. Finalize the build and move in. Once your snow cave is large enough to sleep in, remove the sticks or poles you placed to create ventilation holes. Just like with a quinzhee, you can cut snow blocks or make large snowballs to partially cover the entrance. Once you're happy with your snow cave, move your sleeping gear and yourself inside.
How to Build a Snow Trench
Getty Images, stockstudioX
A snow trench is the easiest and most basic of all snow shelters to build. They also aren't the most comfortable to sleep in. Snow trenches are best suited for emergencies or if you need to catch a few hours of sleep. The only times I've slept in one are on big mountain climbs when I'll only be napping for a short stint before climbing again.
To build a basic snow trench, all you need is a shovel and two or more feet of snow. Having a lightweight tarp or some evergreen branches to cover the trench makes it more comfortable, but isn't necessary.
1. Choose your spot. You need far less snow to build a snow trench than a quinzhee or a snow cave. Look for a sheltered spot near trees or boulders where the snow is at least 2 feet deep.
2. Plan your dig. You'll need a trench that's 6 to 7 feet long and 2 to 3 feet wide, depending on how wide your shoulders and hips are. If you're with people, dig the trench wide enough so that you can all fit in it and share body heat. Your trench should also be 2 to 3 feet deep to offer as much protection from the wind as possible.
3. Harden the snow. If the snow is powdery and you're having trouble digging without the walls collapsing, harden the snow first. This involves stomping down a space at least as large as your trench will be before you start digging. You'll compress the snow by doing this, much like sintering a quinzhee hut, which will help your snow trench have structure.
4. Cover Your Trench. You need to cover your trench once you've dug it out to protect yourself from falling snow and increase the insulating properties of the trench. If you brought a tarp, stretch it over the trench and anchor the sides by piling snow on the edges. If you don't have a tarp and are in a treed area, use evergreen boughs to cover the trench, anchoring them with snow just like the tarp. Evergreen boughs can also make a great insulating mattress to line the trench with. As a last resort, you can use snow blocks to cover your trench. Use your shovel to shape the blocks of snow and then arrange them in an A-frame style over your trench. Throw loose snow on top of them to fill in the gaps. With any of these methods, make sure you leave a gap in the covering so you can get in and out of your snow trench, and to provide ventilation.
5. Move in. Once your snow trench is made and covered, climb inside. Snow trenches are typically smaller and less comfortable than other snow shelters, so plan on only being in the snow trench when you have to be.