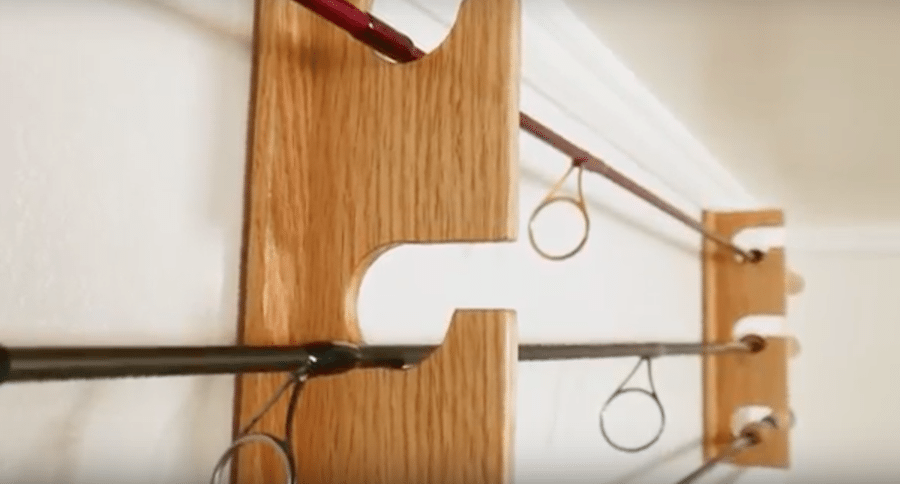
You'll be amazed at how simple these wall mounted rod hangers are to construct.
This is a great DIY project for any angler looking to maximize storage space while keeping things organized in their home. Watch this instructional video (steps outlined below) on how to make wooden wall mounted rod hangers for yourself.
In case you missed anything, here's the steps for making your very own wall mounted rod hangers:
1. Using one 3.5 foot long piece of oak that measures 1.5 inches wide, and one 3.5 foot long piece of oak that measures 2.5 inches wide. Bothe pieces should be .25 inches thick.
2. Cut each board into three 9 inch long sections.
3. Drill three 1.25 inch holes in each of the wider pieces.
4. Cut three 0.625 inch slots connecting each hole to edge of the boards.
5. Make a groove .25 inches wide along the centre of the thin pieces.
6. Sand all pieces smooth.
7. Glue the wide pieces into the slots of the narrow pieces, then clamp then in place until dry.
8. Apply three coats of spray lacquer to the pieces.
9. Fasten velcro strips to the back of the pieces for hanging.
10. Place all three hangers on the wall, making sure they are evenly spaced.
As you can see making wall mounted rod hangers is not too hard at all. This is one of the many DIY projects you can do to better organize and store your fishing gear.
NEXT: WISE ADVICE FROM A MASTER FLY TYER, BLAKE CHOCKLETT