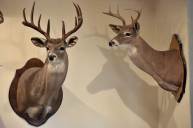
So you just harvested a trophy animal but do not want to spend over $500 for a shoulder mount? Roll up your sleeves and make your own European Mount to preserve your hunt on the cheap!
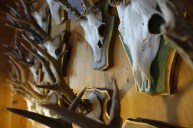
A DIY European mount can be a very satisfying and budget friendly way to proudly display your trophy animals. Follow these steps to create a mount you can admire for years to come.
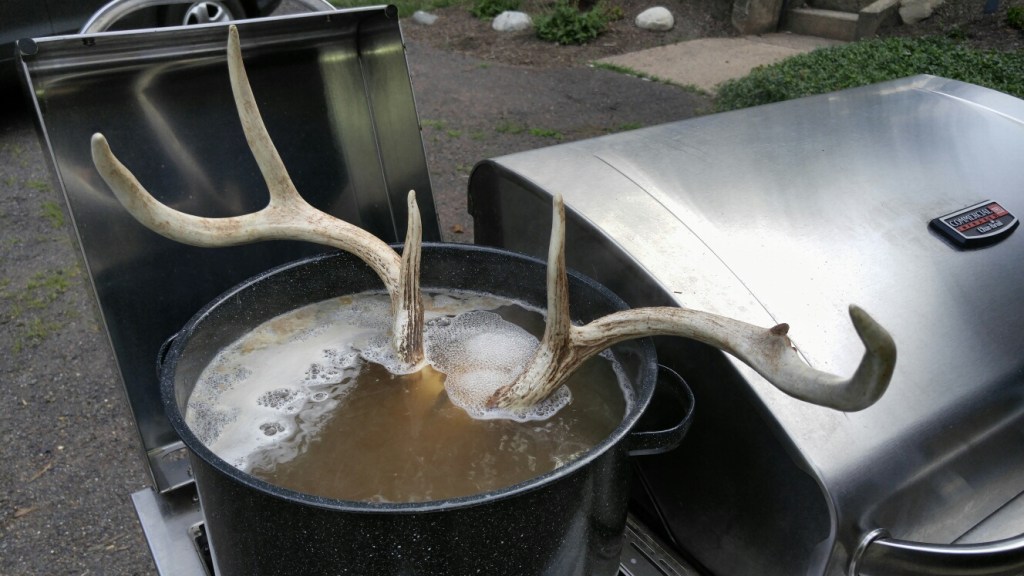
For starters, I strongly suggest you complete this project outside. There are some unpleasant odors that are associated with making a European mount. I use the side burner on my grill to boil my skulls.
You could do all the work in your kitchen, if your marriage is strong enough. I'll pass on that.
1. Start Clean
The best way to start your European mount is with the least amount of meat and hide as possible. Use a sharp knife or scalpel to cut away as much flesh as you can. This will reduce the amount of time you need to boil your skull.
While you are removing excess meat, you can begin to prep the "bath water" for your mount. I use a large stock pot, at least 21-quarts, filled 3/4 with water. Mix in some Palmolive dish soap, or any other degreasing agent to aid in the cleaning process.
Bath Time
Once the water has reached a rolling boil, reduce your heat and submerge your skull. The water should come up to the bases of the antlers. I will use a stick if needed to keep the antlers above water. This step takes the longest.
I have finished boiling a skull in as little as six hours, and have also taken up to 17 hours. Change the water every 3-4 hours to quicken the process. Also, pull out the skull periodically and scrub it gently with a wire brush or brillo pad.
You can also use a hose to push water through the nasal cavities and eye sockets. Use an unsharpened #2 pencil to poke those hard to reach areas.
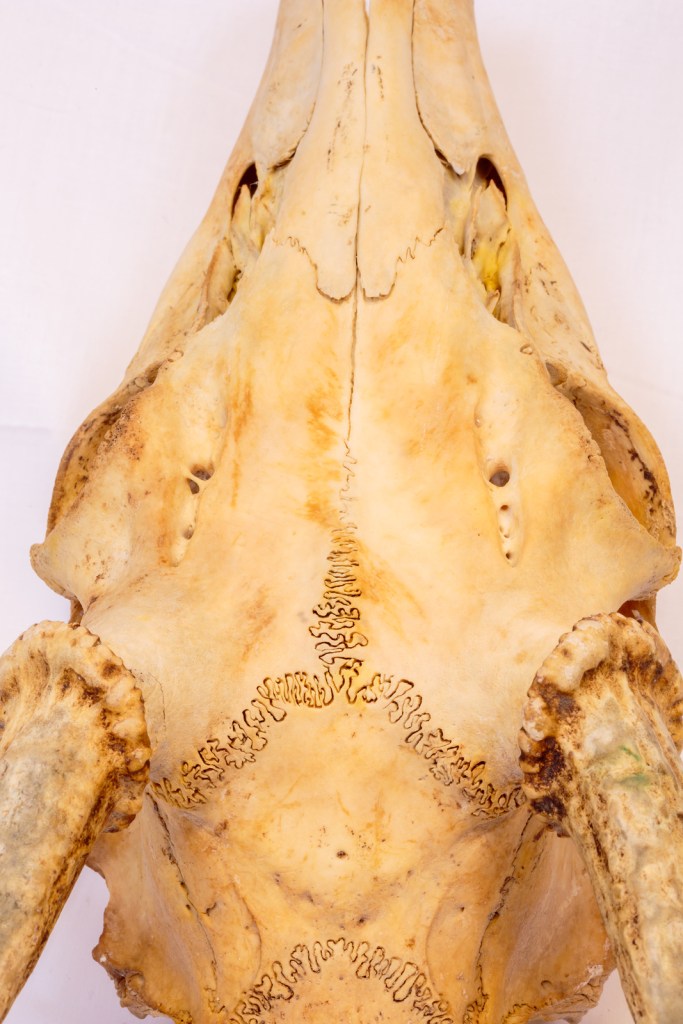
I like to cut off the base of the skull where it meets the first vertebra. This allows me to remove brain matter quickly, and provides for an easier base for your mount to rest on. Be careful not to over boil your skull, you can damage brittle nasal bones. If they break, set them aside to glue back later.
Once all the flesh is removed, set your skull out in the sun to dry for an hour.
Dye It
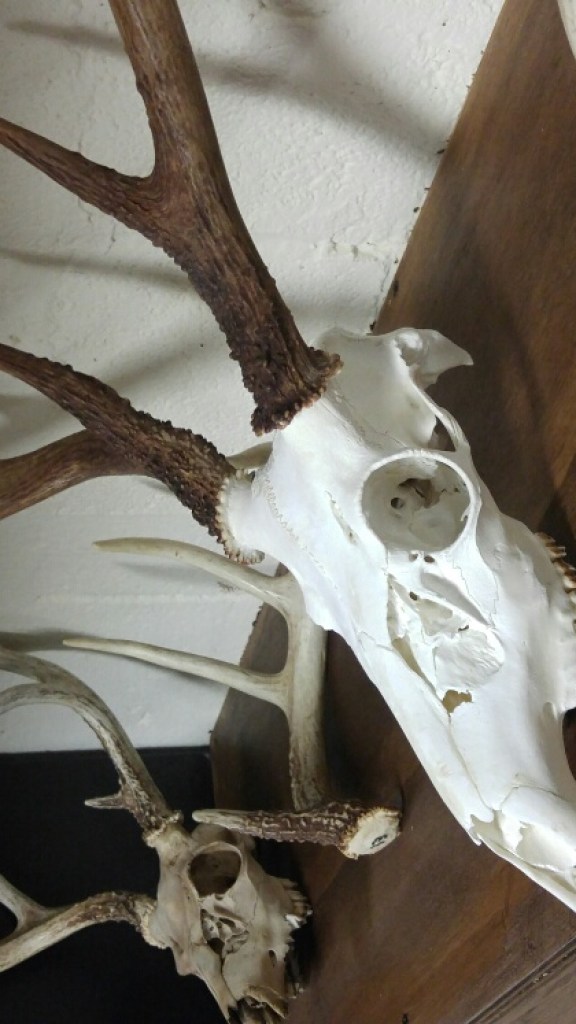
Once dry, wrap the bases of the antlers with painters or electrical tape. To get that stark white finish that will make your skull pop, use 40 Volume Creme Developer. This is available at any beauty supply shop for relatively cheap. I use an old paintbrush and coat the skull with the creme generously.
Once covered inside and out, wrap the head in saran wrap. Place the wrapped head under an intense light to activate the creme. I use a 500 watt work light.
After 30 minutes, unwrap and rinse the head. If you want your skull lighter, simply repeat the process. I usually only need to do it once, because the skull will continue to whiten after the product is rinsed off.
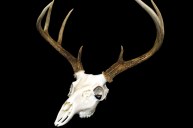
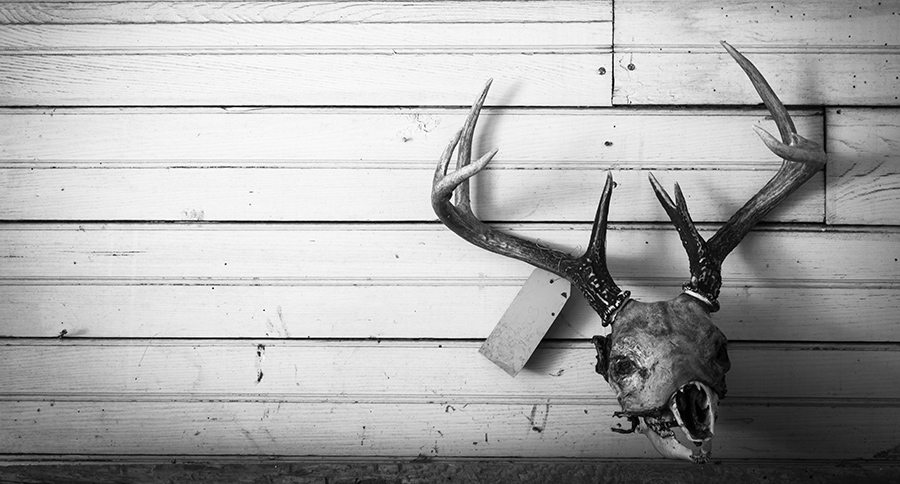
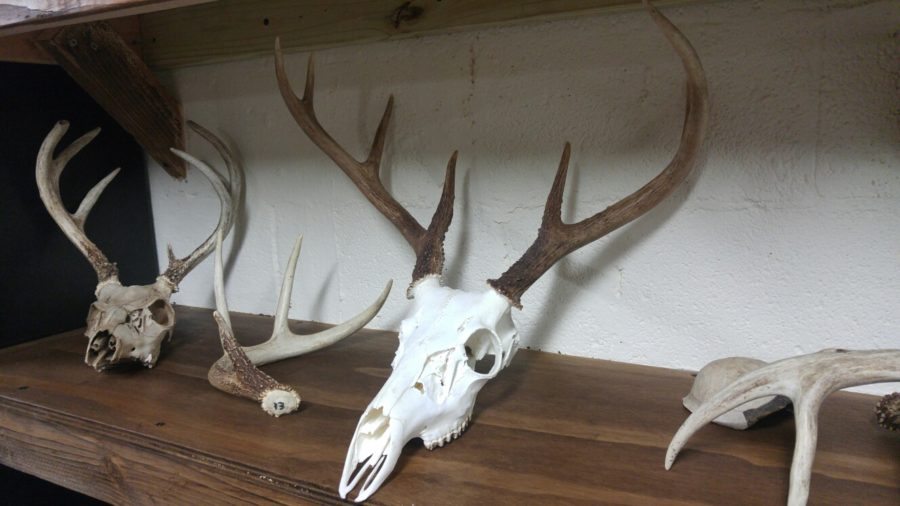
Once completely dry, glue on any small bones that broke off during the process. Your DIY European mount is complete and ready to be displayed!
The initial investment for my European mount was minimal. Everything else I had laying around the garage; once the pot is purchased, every mount afterwards will cost under $10.
When you want to preserve the memory of your next hunt without breaking the bank, give this DIY European mount a try.
NEXT: 6 TIMES DEER AND ELK WERE CAUGHT SHEDDING ANTLERS ON CAMERA
WATCH
https://rumble.com/embed/u7gve.v3to3h/