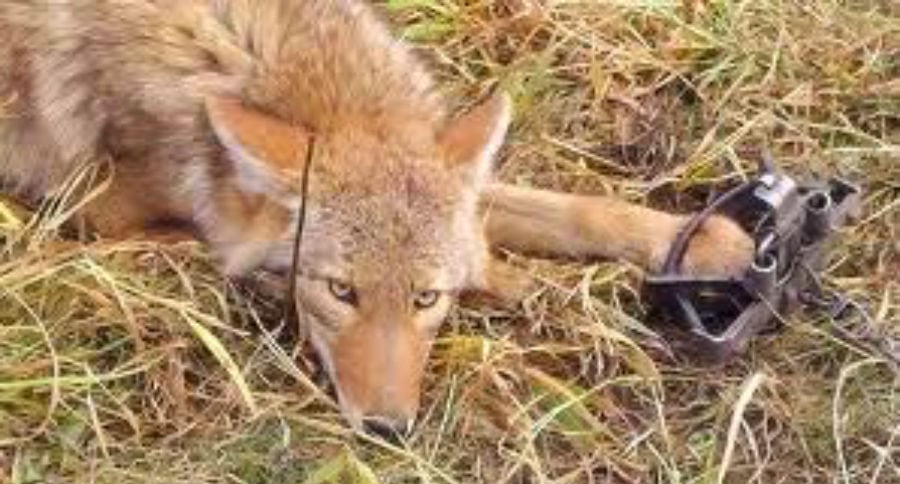
Here's a refresher on how to dye and wax traps in order to get the most from your equipment.
Before each season, trappers should prepare their traps for smooth operation and trap longevity. Here's how to dye and wax traps to get the most from your equipment.
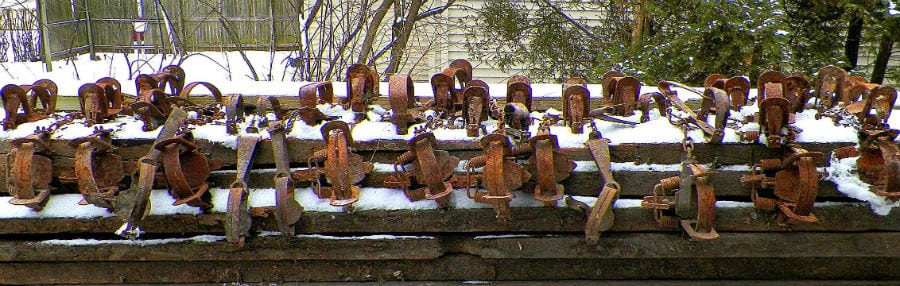
Trap preparation should be a part of every trappers yearly routine. You want your equipment to function smoothly and last a long time. Taking the time to dye and wax traps won't guarantee you a successful season on the trapline, but it'll increase your odds.
Here's the how-to on properly dying and waxing traps for new trappers—or a refresher for experienced trappers who just want to read something about trapping to get mentally ready for the season.
Whether you're dealing with older, used traps or brand-new traps, the procedure is pretty much the same. The exception is that if you'll be dying and waxing new traps, you need to take a couple of initial steps that aren't necessary for used traps. Let's get that out of the way first.
Preparing brand new traps
New steel traps are coated with a thin layer of oil or grease to prevent them from rusting before their sold. This layer needs to come off.
You can do this by washing the new traps in hot, soapy water. Get a big tub, some dish soap and a scrub brush and go to it. Rinse them off with a hose. You can also take your new traps to a self-serve car wash and use the power wash on them. This method might be preferable if you have a lot of traps to prepare.
Once the oil or grease is removed from the traps, they'll need a light coating of rust. The rust helps the trap dye bond to the traps better. Of course, older traps will likely already have a bit of rust on them. A simple cleaning with a scrub brush, or power wash at the car wash, should remove any caked-on mud or dirt.
If the traps are new and rust-free, just leave them outside for a week or so. Or you can spray them with a white vinegar and water solution to speed the process up.
Dying your traps
Once you have your traps free of dirt and grime and sufficiently rusty, you're ready to dye them. Dying traps is sometimes referred to as boiling, but that's a misnomer. You don't want to actually boil them, but rather simmer them in a large pot of hot water and dying compound.
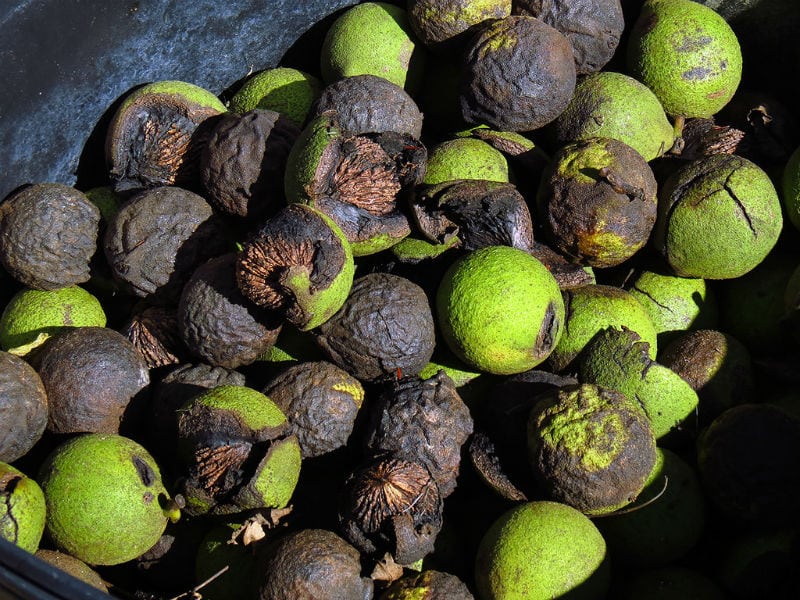
The dying compound is up to you. There are any number of trap dyes you can use, from commercial applications such as logwood dye, powdered or liquid coloring agents. You can also use natural dying agents such as black walnut hulls or sumac seed heads. Butternut, locust, oak or maple bark can also be extracted in boiling water and used as a trap dye.
Commercial logwood trap dye comes in black and red powder forms, is easy to use and is relatively inexpensive. I prefer black walnut hulls myself, if only because they are easily accessible, free and create a nice black dye giving my traps a "ready for action" appearance. They're also "old school" and I like that.
Whatever coloring agent you choose, you'll want to set aside a day and perform the task outside. You'll need a large pot for a heat source as well as a long stirring paddle or stick. A food-grade 55-gallon steel drum barrel works well if you have a lot of traps. Set your pot over the heat source, be it a propane turkey fryer or a wood fire inside a couple of cinder blocks. If you use a 55-gallon drum, fill it around 1/2 to 2/3 full of water. If you're using a large pot, fill it with enough water so that it won't overflow once the traps are added.
Add your coloring agent. If you use commercial dye powder, simply follow the directions on the package. The package should also tell you the approximate number of traps the dye will color. If you use natural material like walnut hulls, you can figure on somewhere around 10 pounds of hulls for a drum about half full of water.
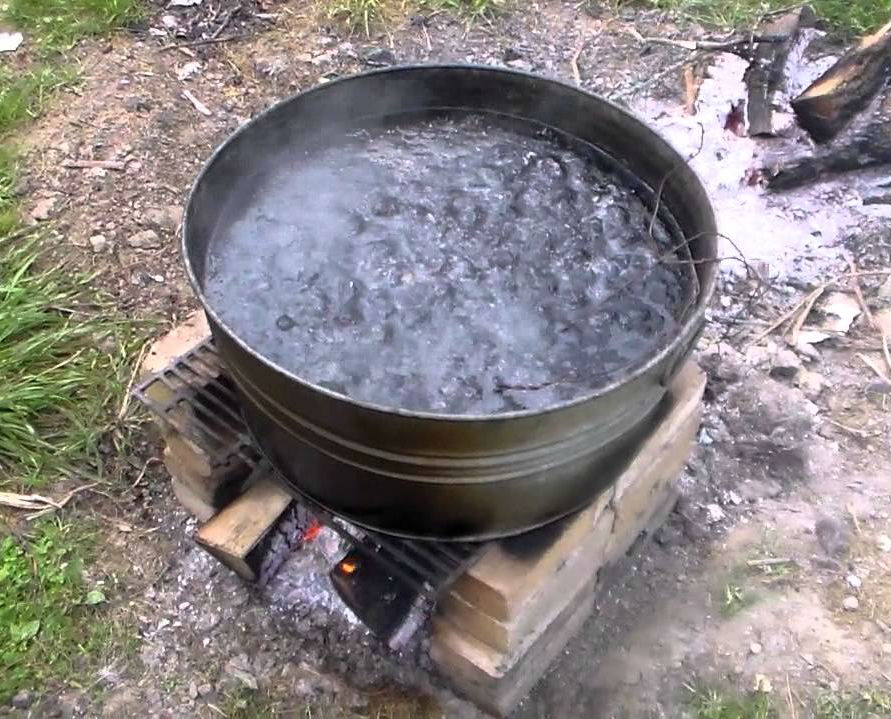
Bring the water to a boil and let it simmer for half an hour or so. Leave it at a low simmer. Skim off any contaminants that rise to the surface. Remember, you don't want boiling water. Some folks say too much heat over an extended period of time can damage your trap springs. I don't know if that's true or not, but why take the chance.
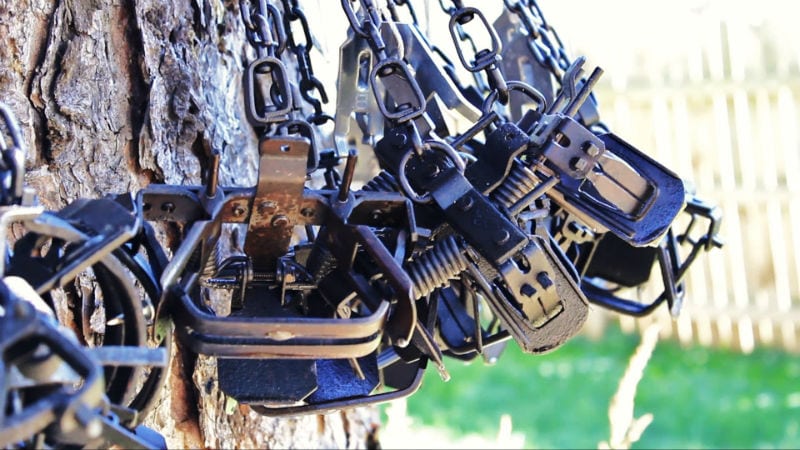
Tie or wire a half-dozen traps together at their chain ends and lower them into the water completely, chain and all. Let them simmer for at least half an hour before removing. Once you remove them they should be uniformly colored. Hang them up to dry. A board with some stout nails elevated between a couple of trees or posts serves well for this purpose.
Once dry, your traps are ready to wax. The waxing process can be a bit more dangerous than the dying process because wax is highly flammable. You'll want a separate pot or kettle for this process.
Wax your traps
Waxing will make your traps more resistant to rusting. It offers an extra layer of protection against the elements and helps them function more smoothly. I don't wax body-grip traps. I only wax foothold traps (longspring, coilspring and jump traps). There are a few different methods for waxing traps. I'm only going to explain the method I use.
You'll use paraffin wax or beeswax for this, which can be purchased at any trapping supply store.
I use a large pot, not the 55-gallon drum I used for dying. It doesn't hold as many traps at one time like the drum barrel does, but that's okay. It's a methodical process that I enjoy.
I also heat with an adjustable propane heat source of the kind used for home fish boils. A large pot fits securely on one of these units.
With the waxing process, you'll also want to have a few items of safety gear: heat resistant gloves, a long-handled pot hook and a lid for the pot you'll be using. I use a large round of plywood with an attached handle as a lid. Melted wax can flare up. If a flare-up occurs quickly, place the lid over the barrel with the pot hook and turn the heat down. That should snuff out the flames.
Slowly heat enough paraffin to completely cover up to six traps at a time, depending on their size. Make sure the traps and chains are completely dry before lowering them into the hot wax. Let them sit in it for a long two or three minutes. You want the steel to get hot enough for the molten wax to create a solid bond.
Using the pot hook, remove the traps from the wax and hold them over the pot for several seconds to allow excess wax to drip off. Then hang them back up to dry completely. They should have a nice, thin layer of wax, making them look "wet."
Scrape the wax from the dog and notch, or you may have a hard time setting the trap when in the field. Good luck, be safe and enjoy the process. Now that you have your traps waxed and dyed, you're ready to hit the trapline.
Like what you see here? Experience more articles and photographs about the great outdoors at the Facebook page, Stumpjack Outdoors.
NEXT: TRAPPING IS STILL A PRACTICAL AND WORTHWHILE ENDEAVOR IN OUT MODERN SOCIETY
WATCH
https://rumble.com/embed/u7gve.v3tq0x/