Headlight restoration is one aspect of vehicle maintenance that can easily be DIY-ed. If you're looking to save money on maintenance by taking care of things yourself, headlight restoration is a great place to start.
In this article, we'll give you everything you need to DIY your headlight restoration from the best headlight restoration kits to a step-by-step tutorial on clearing up yellowing headlight lenses and other common issues.
Best Headlight Kits
You have several easy-to-find options for headlight restoration kits. Once you restore your lights, you might want to buy a clear coat finish to keep your headlights brighter for longer. Some kits include a finisher and some don't, so check out our Amazon recommendations below to know what you'll need to purchase.
Sylvania Headlight Restoration Kit
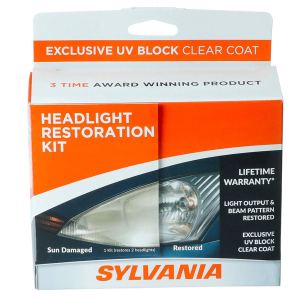

Sylvania's headlight restoration kit is one of the most popular options on the market. It comes with everything you'll need to restore your headlights, including the finish for longer-lasting headlight protection. You'll also be getting the materials and tools you need for the restoration such as wet sandpaper, applicator microfiber cloths, and gloves.
Read More: The Jeep Wrangler Mod to Beat All Jeep Wrangler Mods
Meguiar's Two Step Headlight Restoration
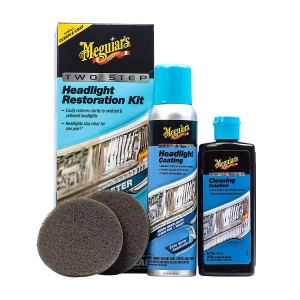
This product also includes the headlight coating you'll need for longer-lasting protection. Meguiar's claims to keep your headlights protected from yellowing and oxidation for 12 months. This product includes a cleaning solution, headlight coating, and buffing pads. This kit does not include sandpaper.
Mothers NuLens Headlight Renewal Kit
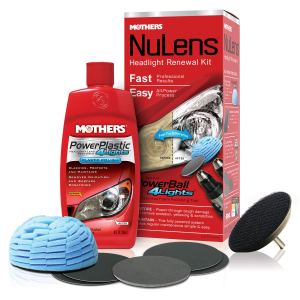
This kit comes with a backing plate, buffing tool, restoration discs, and the restoring polish. The polish is made from a formula intended to protect against yellowing and oxidation, however, you might also want to pick up a clear coat protectant, which is not included in this kit.
3M Quick Headlight Clear Coat Finish
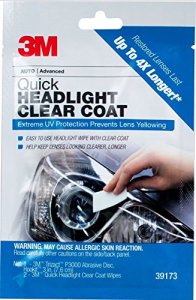
If you're looking for a clear coat finishing sealant, this is an excellent, easy-to-use option. Once you've finished your restoration, it's as simple as wiping a quick coat across the headlight's exterior with the included pads. This will help prevent discoloration and yellowing on a plastic lens. You can also use this product on brand new headlights as a protective coating to prevent discoloration in the first place.
Headlight Restoration How-To
Restoring your headlight isn't as arduous a process as it sounds. If you prep correctly and give yourself enough time, there's nothing hard about it! The first thing you'll want to do before you start restoring is give the headlights a thorough cleaning. After that, put painters tape on the metal surrounding the headlight to prevent the restoration solutions from damaging your paint.
From here, various kits will have different instructions. The most heavy-duty kits will require sanding down the headlight using wet sandpaper. This clears away the sun-damaged, oxidized layer of the headlight. Other kits are primarily chemical focused, in which case you'll have to use less elbow grease. Chemical formulas tend to last a bit less time before a new restoration or coating is needed.
Once you've wet sanded, you'll apply your buffing or polishing solution to the headlight to finish off the process of deoxidizing your headlight, which will clear up any lingering discoloration. Microfiber cloths or buffing machines work best.
Now, just apply your clear coat and remove the tape. Congratulations, you've restored your headlights!
Read More: Wild Hare ATV Kits Turn Your Average ATV Into a Compact Tractor