Here is how to get more out of your trail cameras.
Who doesn't love running trail cameras these days? Going to check them is a little like Christmas morning. You never know what you're going to find when you check the cards.
That being said, have you ever felt like you could get more and better photos? Here are some tips to help you do just that.
More cameras = more chances for success
With trail cameras getting cheaper and cheaper, there's really almost no excuse to not own several. If you live anywhere near a WalMart or other chain store that carries hunting supplies, now is the time to buy trail cameras because many of these places have them on clearance now to make room for spring fishing and turkey hunting gear. With a little searching, you can find some real deals.
Obviously, the more cameras you have, the better your odds of capturing a picture of that big buck. This also goes with my next tip.
Don't be afraid to experiment
When you own multiple cameras, it helps to take a chance with one or two to monitor areas you might not have looked twice at before. Sometimes while doing this you can discover lesser-used travel routes you didn't know the deer were on. I've placed cameras on a whim in areas with little sign only to find hundreds of photos when I came back later.
Sometimes you can find an obscure route a big buck is using almost exclusively. The fact of the matter is you never know what photos you might get at a spot until you try.
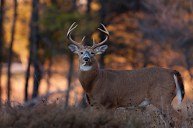
Keep the sun in mind
Some people like to only place their cameras pointing north or south to avoid the sunrise and sunsets washing out photos. Some cameras will false capture when direct sunlight gets in the lens.
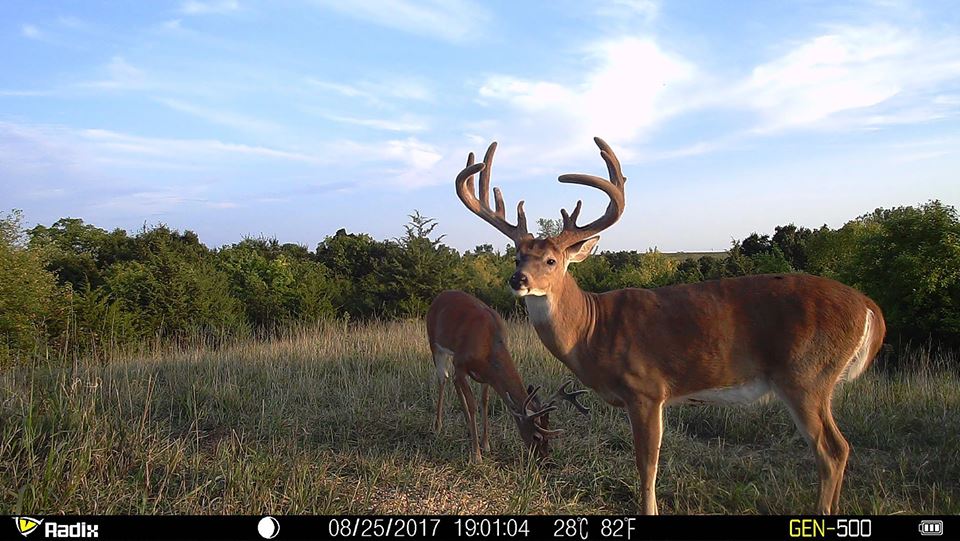
Be aware that some of your east/west photos might not always turn out. Sometimes you can be strategic and set up cameras that use trees or other natural features to prevent direct sunlight from hitting your lens.
Sometimes, if you find just the right location, it can produce spectacular photos you'll be proud to share with friends and family.
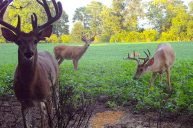
Supplemental feeding/minerals (If legal!)
Travis Smola
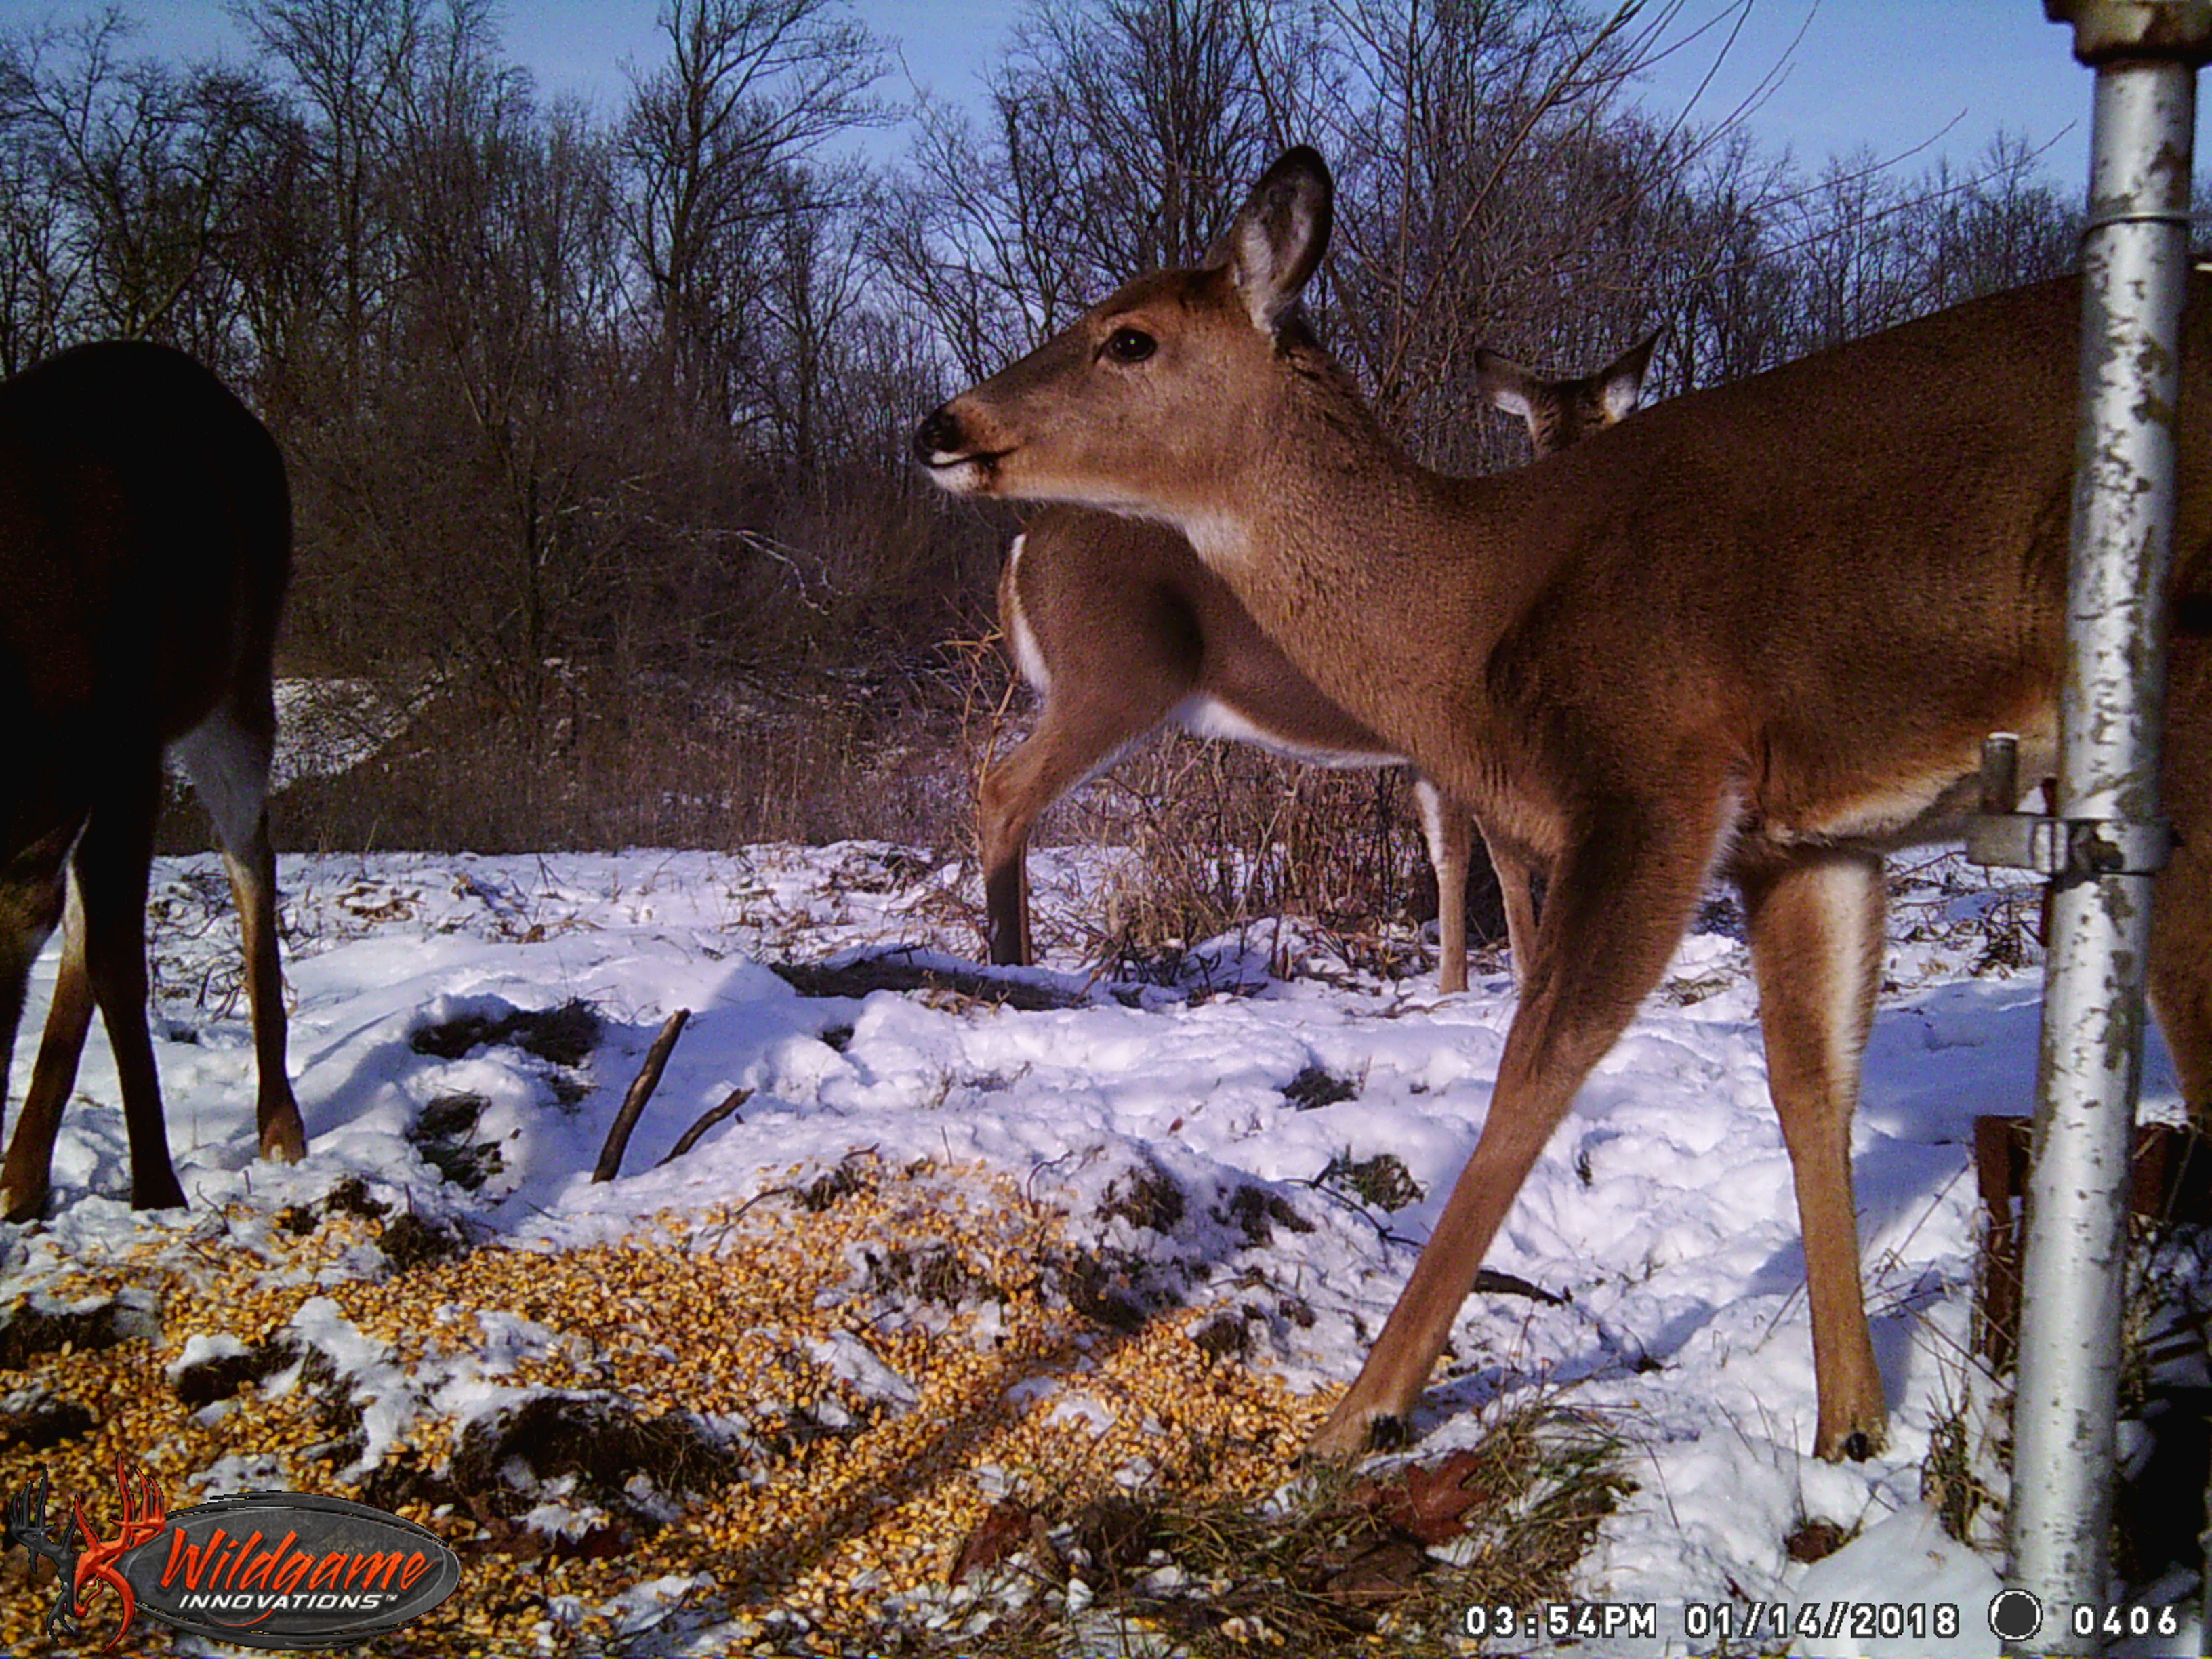
The easiest way to get better quality photos with your trail cameras is to place them on supplemental feed or minerals. This allows you to easily control how far away from the camera the deer will be. If the first photos are too dark, move the feed towards the camera. If they're washed out by the flash, move it back.
Keep in mind local and state regulations before you utilize a food or mineral setup to get trail camera photos. Some areas have restrictions and others have outright bans. Make sure you check ahead of time.
Framing is everything
Travis Smola
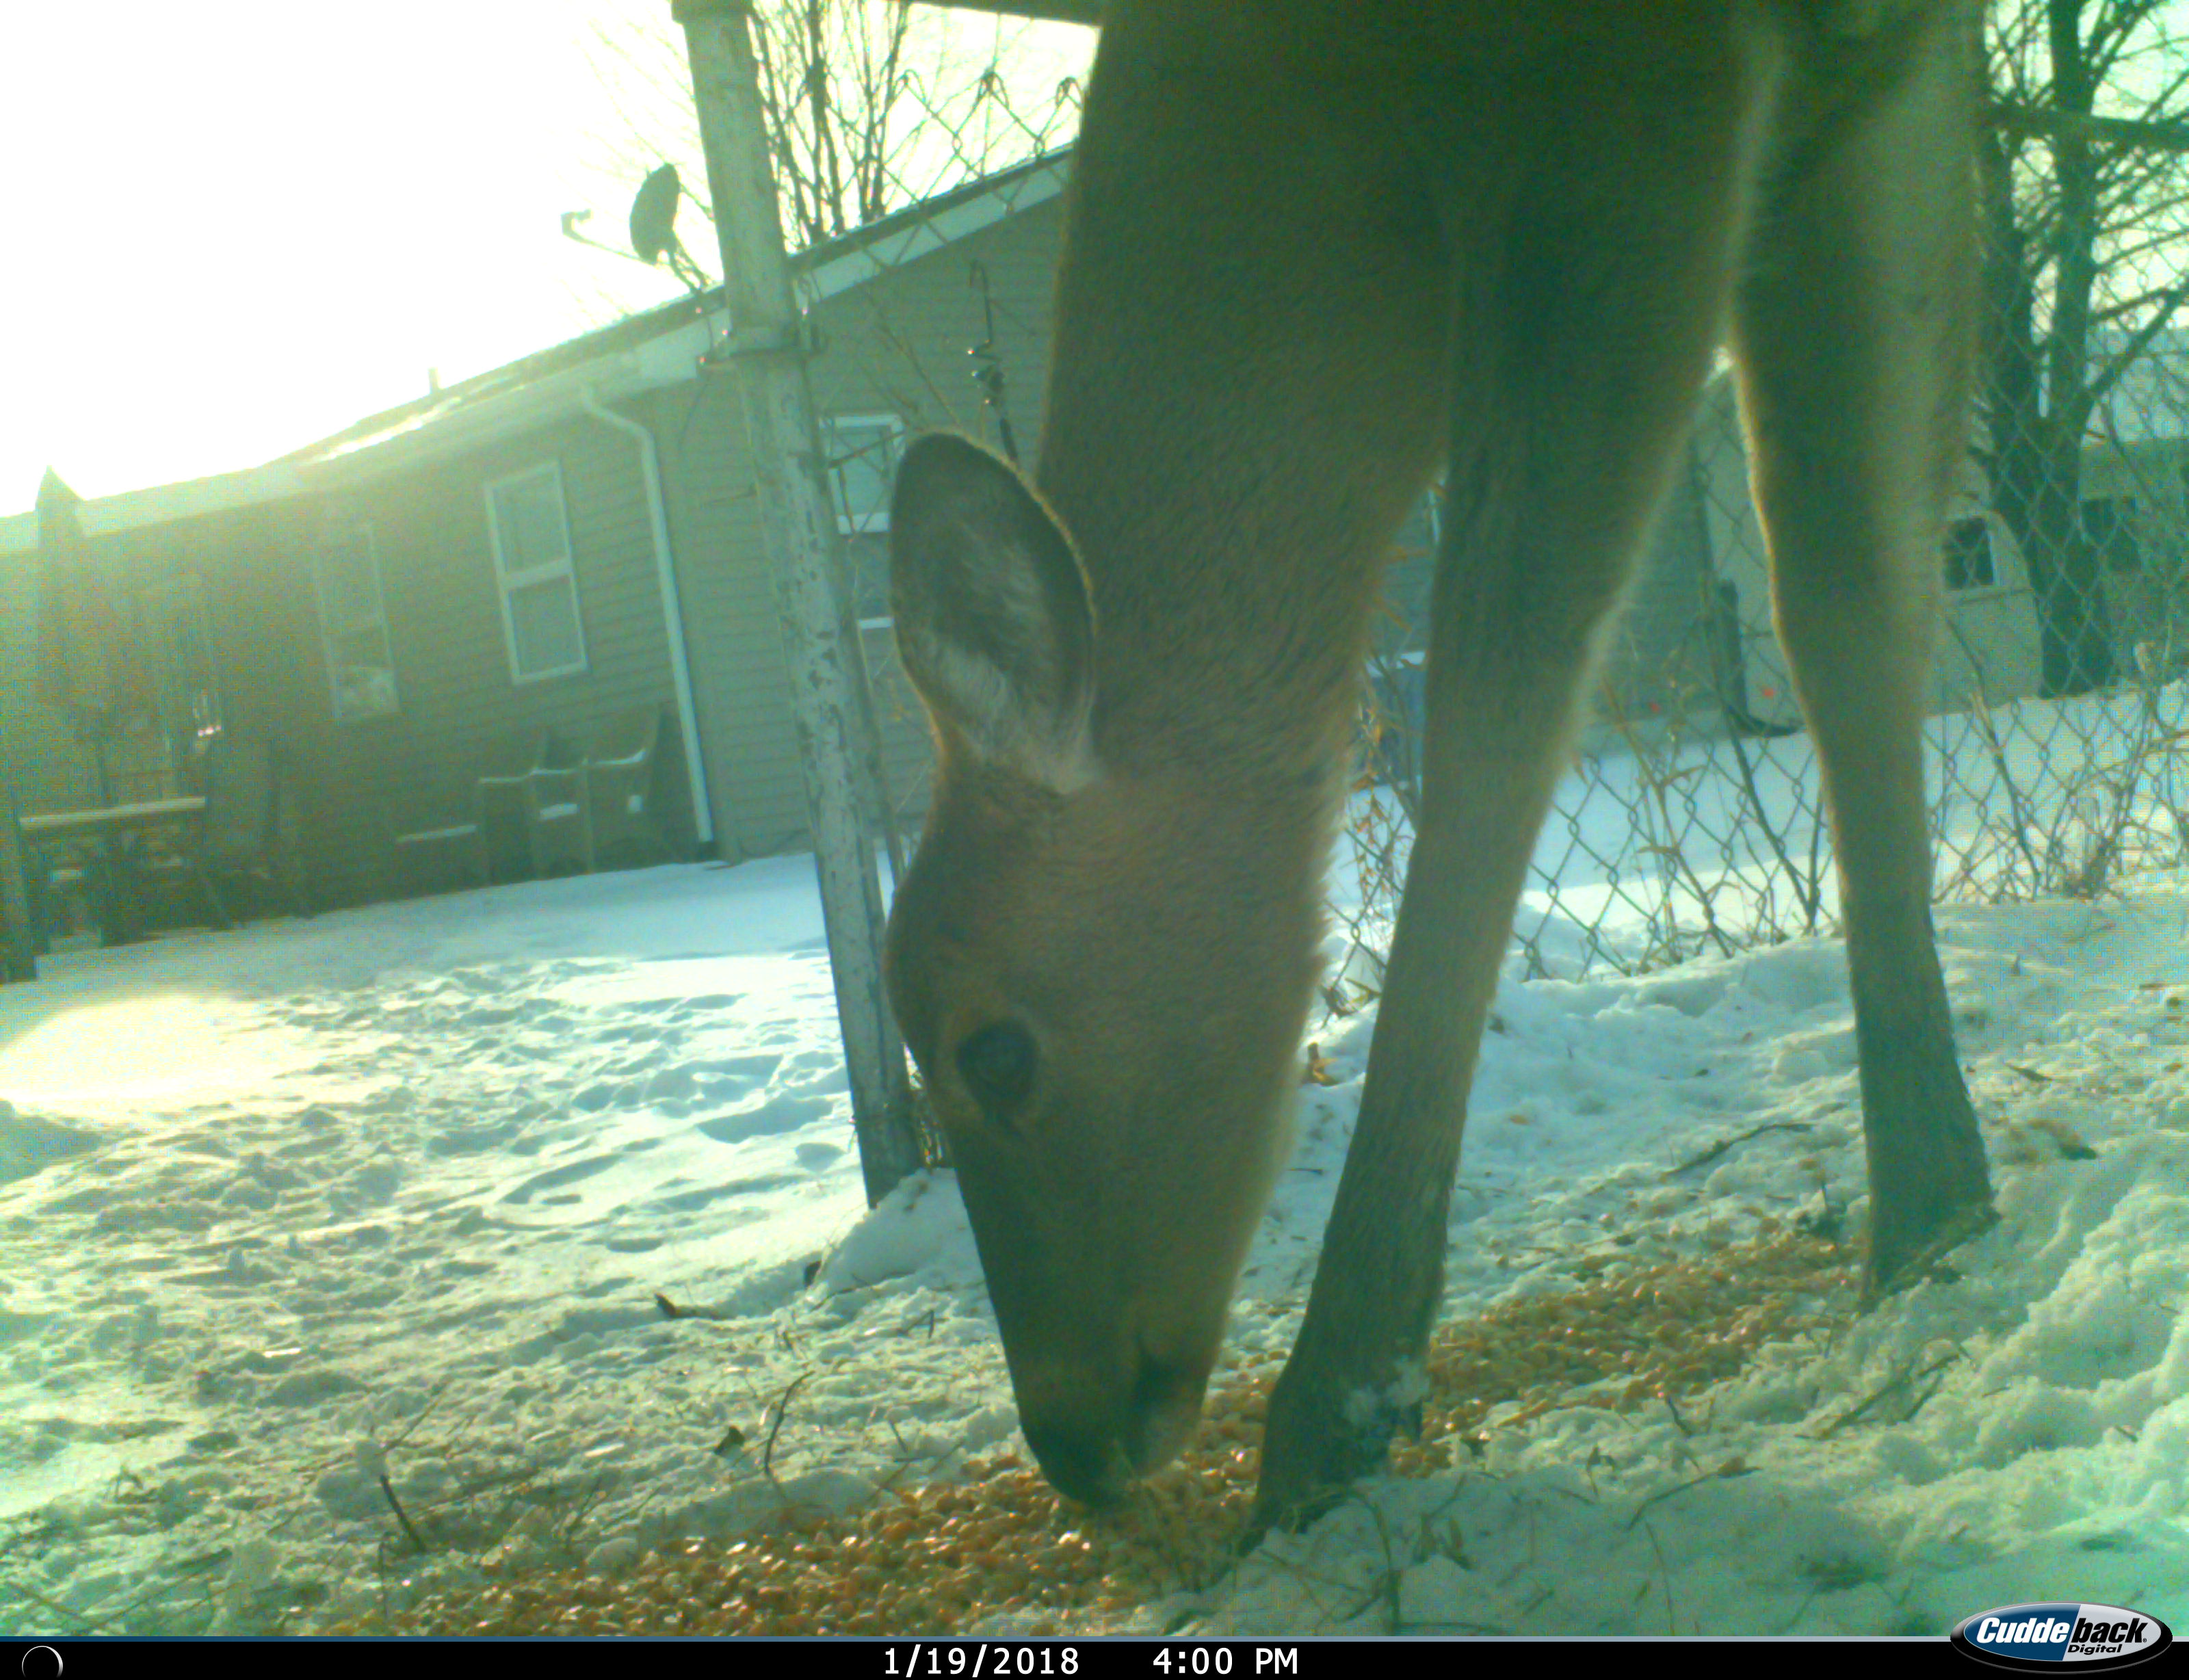
You can make for better quality or more interesting photo just based on how you frame them. If you have a stream or other water source where you are running your cams, it can make for a picturesque background.
Think outside the box with the background to create more interesting photos. Are deer frequenting an area behind a house or building? Set it up to get the building in the photo.
One fun challenge can be to set up a trail camera with a treestand in the background and try to get a hunter in photos with deer. It can also make for a great memory if you happen to harvest that big buck in the process.
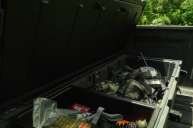
Get creative with camera placement
Sometimes you find the perfect spot for a trail camera, but there isn't a single decent tree to attach it to nearby. Some outdoor retailers sell poles and other mounts for this kind of thing, but with a little ingenuity, you can have a setup that doesn't cost a thing.
I've utilized a two-foot section of log stood on end to place cameras in areas where there are no good trees. I've also used a standard size cinder block for this same purpose.
Obviously, if you are placing cameras on public land or in another place where they may get stolen, this may not be an option. One way to protect cams in areas like this is to mount them as high as you can. Not only will it make for an interesting photo from such a high angle, but thieves are less likely to stumble on your setup.
Don't use delays
Most cameras come equipped with delays to avoid getting pictures of the same animals. These features made more sense in the days of film cams when you might only get 24-36 shots on a roll, at most.
But with many cameras getting battery life of up to one year and memory cards able to hold thousands of images, why not capture as much as possible? That is why I use the largest cards I can find and turn the delay to its lowest setting or even off if possible.
Sure, you'll get lots of worthless photos of the same deer doing this. But you never know when that big buck will show up. And when he does, you want as many photos as possible. The great thing about digital is you can just delete the worthless photos and keep the good stuff.
Also, don't be afraid to utilize video modes on your cams. Sometimes this mode can capture deer that would have been missed normally because they entered the frame after the camera triggered.
Limit your visits
I know, it can be hard to leave your camera unattended for long periods of time. But a trail camera is like a tree stand. You don't want to over-visit it. Mature bucks especially will pick up on a camera that is visited too frequently. We know the waiting can be hard, but the results are usually worth it.
I sometimes like to carry a little bit of cover scent to spray my boots and setup down, even in the summer months to leave as little human trace in the area as possible.
NEXT: 7 SHED HUNTING TIPS FOR THOSE WHO CAN'T SEEM TO FIND THEM
WATCH